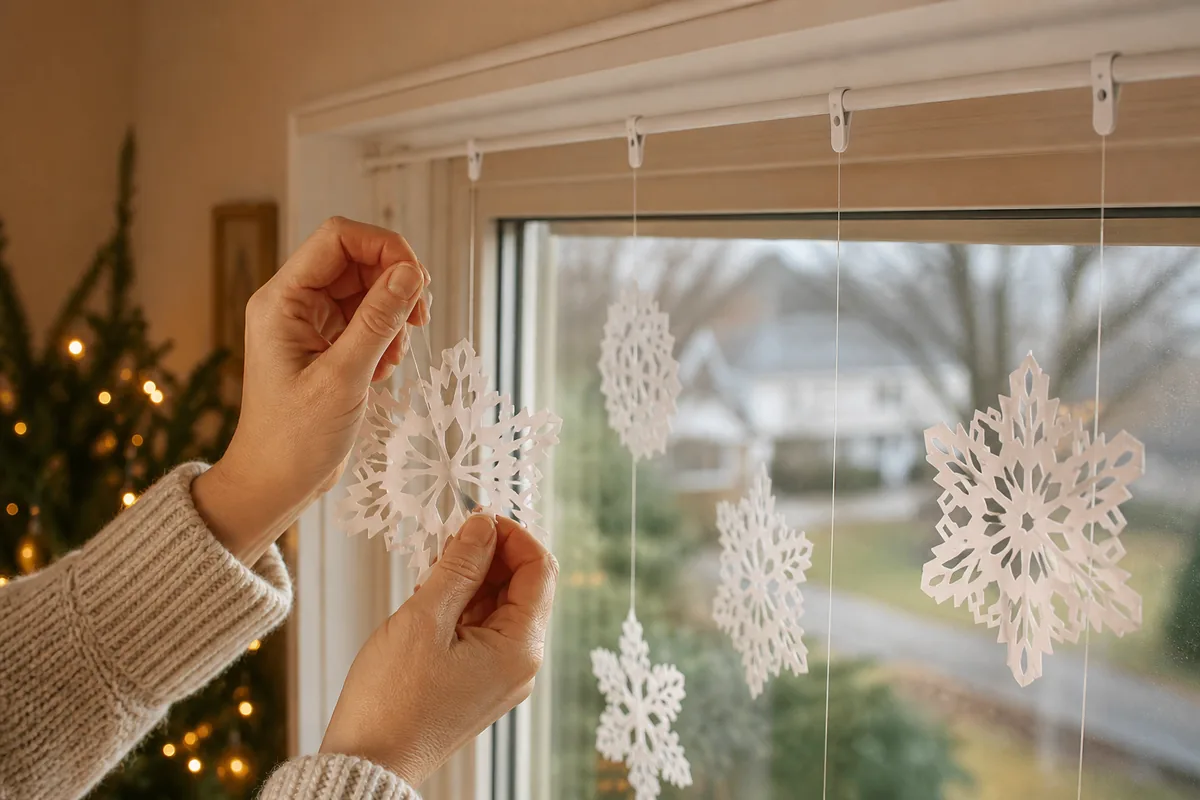
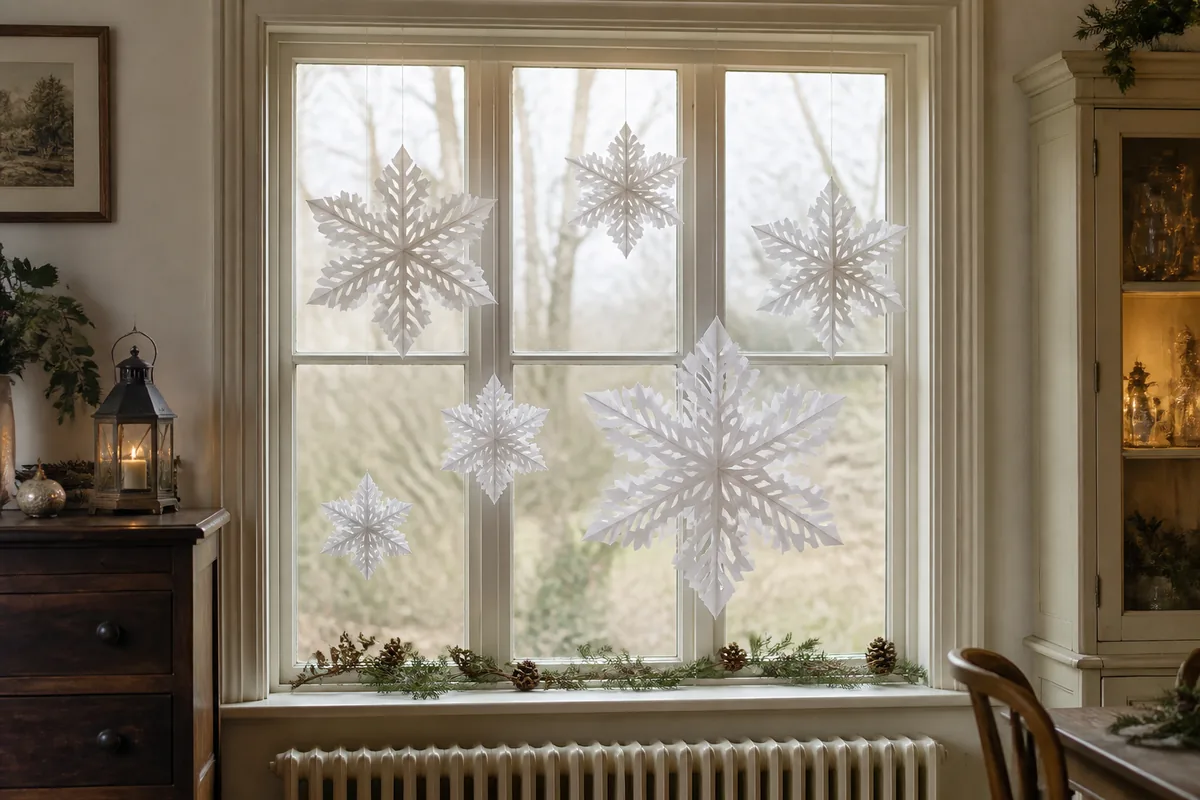
Cut five six-point paper snowflakes in graduated sizes, suspend them at varied heights from clear monofilament, and anchor the lines to a tension rod or removable hooks above the window.
Floating Paper Snowflake Window Display
A floating snowflake display looks most convincing when the shapes vary in scale and hang on nearly invisible lines rather than being taped flat to glass. This plan fills a window approximately 36–48 inches wide with five six-point snowflakes. A slim tension rod hides inside the upper recess, so the installation can be removed without drilling holes or leaving adhesive on the window frame.
Project at a glance
- Difficulty: Confident beginner
- Active time: 90 minutes
- Total time: 90 minutes
- Yield: Five snowflakes for a 36–48-inch window
- Supervision: Adult supervision for sharp scissors, needle, and overhead hanging
Materials, sizes, and setup
Cut five squares from lightweight white drawing paper: 8, 10, 12, 14, and 16 inches. Paper between 70 and 90 gsm folds cleanly without becoming too bulky at the center. Avoid heavy cardstock, which is difficult to cut through multiple folded layers, and very thin tissue, which curls in window condensation.
You will also need sharp paper scissors, a pencil, ruler, bone folder or spoon handle, clear monofilament rated for at least 4 pounds, a sewing needle, and a white tension rod that fits the window recess. Five small white paper clips make the lines adjustable. If the window has no suitable recess, use two removable clear hooks rated for the combined weight and follow their surface-preparation instructions exactly.
Allow 90 minutes for cutting and installation. The project is suitable for confident beginners, but an adult should supervise children using sharp scissors and handle the needle and overhead hanging.
Fold a true six-point snowflake
Work with one paper square at a time. Fold it diagonally into a triangle, align the edges carefully, and sharpen the crease. Fold the triangle in half briefly to mark its center, then reopen it.
With the point facing down, imagine the upper edge divided into thirds. Fold the right corner across the front so its point extends beyond the left side; then fold the left corner across in the opposite direction. The two folded sections should overlap evenly and form a narrow cone. Fold that cone in half, matching its angled edges. Trim the uneven top straight across. The folded packet now contains six repeating sections.
Draw a simple cutting plan in pencil. Leave an uncut bridge at least ¼ inch wide along both folded sides so the snowflake remains connected. Use triangles, shallow curves, and narrow notches rather than many tiny cuts. Cut the outer end into a point or shallow V, then unfold slowly. If the layers resist, lift them one at a time instead of pulling the center.
Press the opened snowflake under a clean book for 15 minutes. Repeat with the remaining paper, changing the cut pattern but keeping the same six-point construction.
Add almost-invisible hanging lines
Cut five lengths of monofilament: 18, 24, 30, 36, and 42 inches. Thread the needle and pierce each snowflake about ½ inch below the tip of one strong point. Passing through the paper rather than taping the line prevents the snowflake from peeling away when the glass becomes cool.
Tie the line with two small overhand knots and trim the tail to ½ inch. Add a tiny piece of clear archival tape on the back of the pierced point only if the paper begins to tear. Tie the upper end of each line to a paper clip; the clip will slide along the tension rod during spacing adjustments.
Do not make loops large enough to fit around a child’s neck, and keep all hanging lines out of reach of babies, young children, and pets. This installation belongs in the upper portion of a window, not beside a crib, bed, or climbing furniture.
Balance the window composition
Install the tension rod 1–2 inches below the top of the recess and test that it cannot rotate or slip. Hang the 16-inch snowflake slightly off center on the 24-inch line. Place the 12- and 14-inch shapes on opposite sides at different heights, then use the 8- and 10-inch shapes to fill the remaining gaps.
Keep at least 3 inches between paper edges and 2 inches between the lowest snowflake and the sill. Step back across the room before finalizing the spacing. If two shapes overlap from normal viewing distance, slide one paper clip along the rod or shorten its line with an extra knot.
Air movement should create only a gentle turn. If a snowflake spins constantly near a vent, move it or shorten the line. Keep paper clear of radiators, candles, hot bulbs, and frequently opened window latches.
Prevent curling and store the display
Paper placed directly against damp glass absorbs condensation and warps, so maintain at least a 1-inch gap from the pane. On very humid mornings, remove the rod until the window dries. A slight curl can be corrected by pressing the snowflake between clean sheets of paper under books overnight.
At the end of the season, unclip the lines and place each snowflake between sheets of tissue in a rigid portfolio or shallow box. Wind each monofilament line around a separate scrap of card to prevent tangles. Stored flat and dry, the same display can return for several winters.