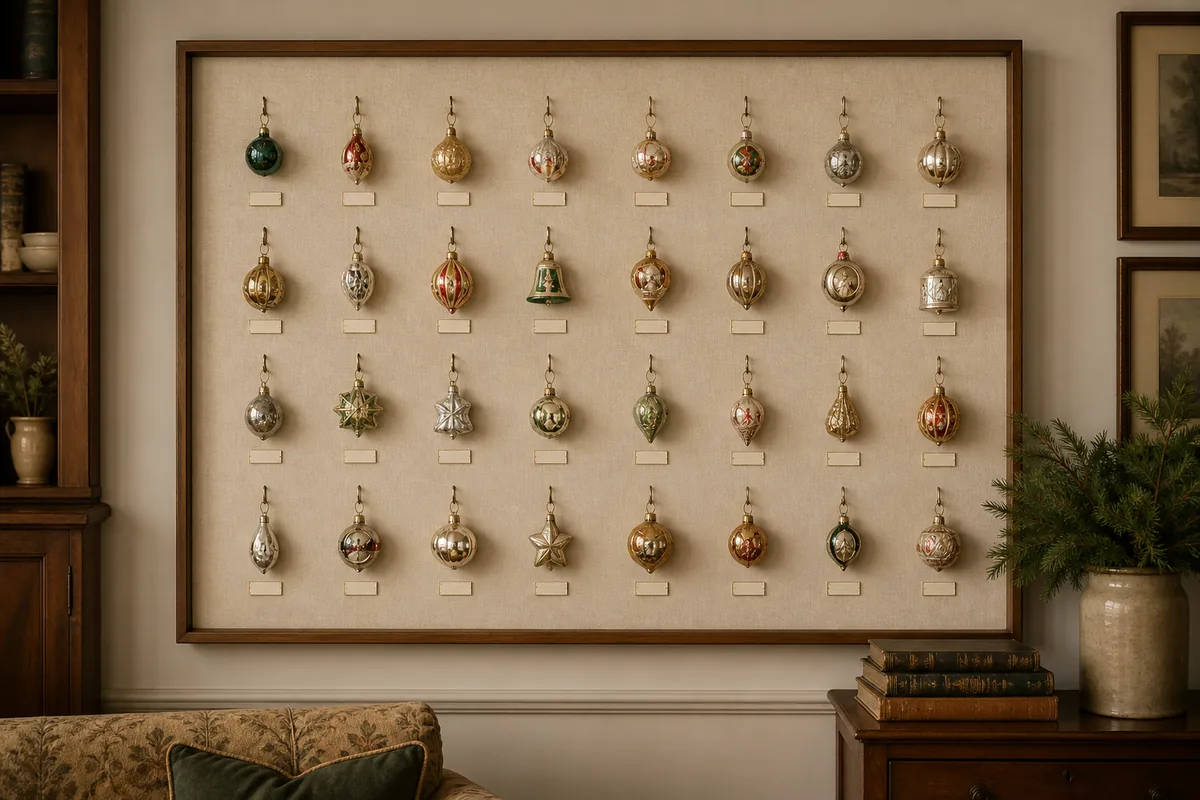
Mount a fabric-covered 36-by-48-inch panel securely, give each ornament an independent hook and safety loop, and maintain enough spacing to prevent contact.
Family Heirloom Ornament Wall Display
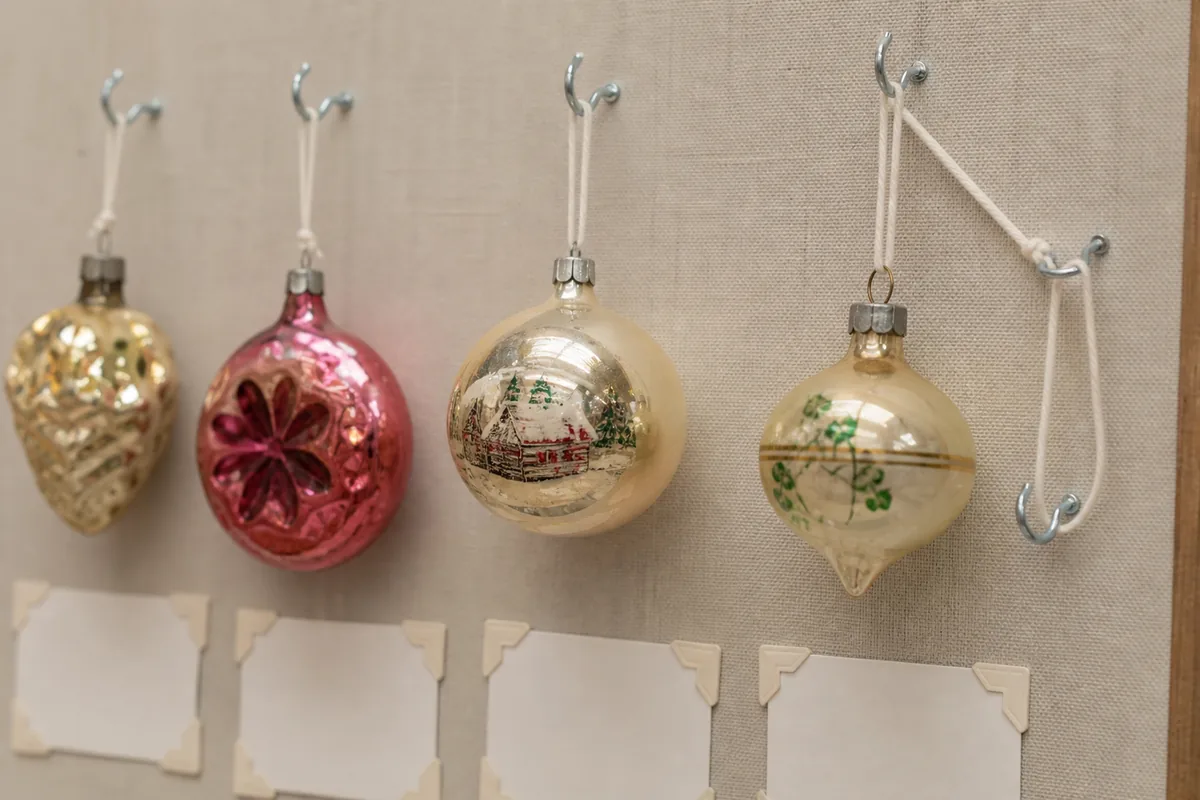
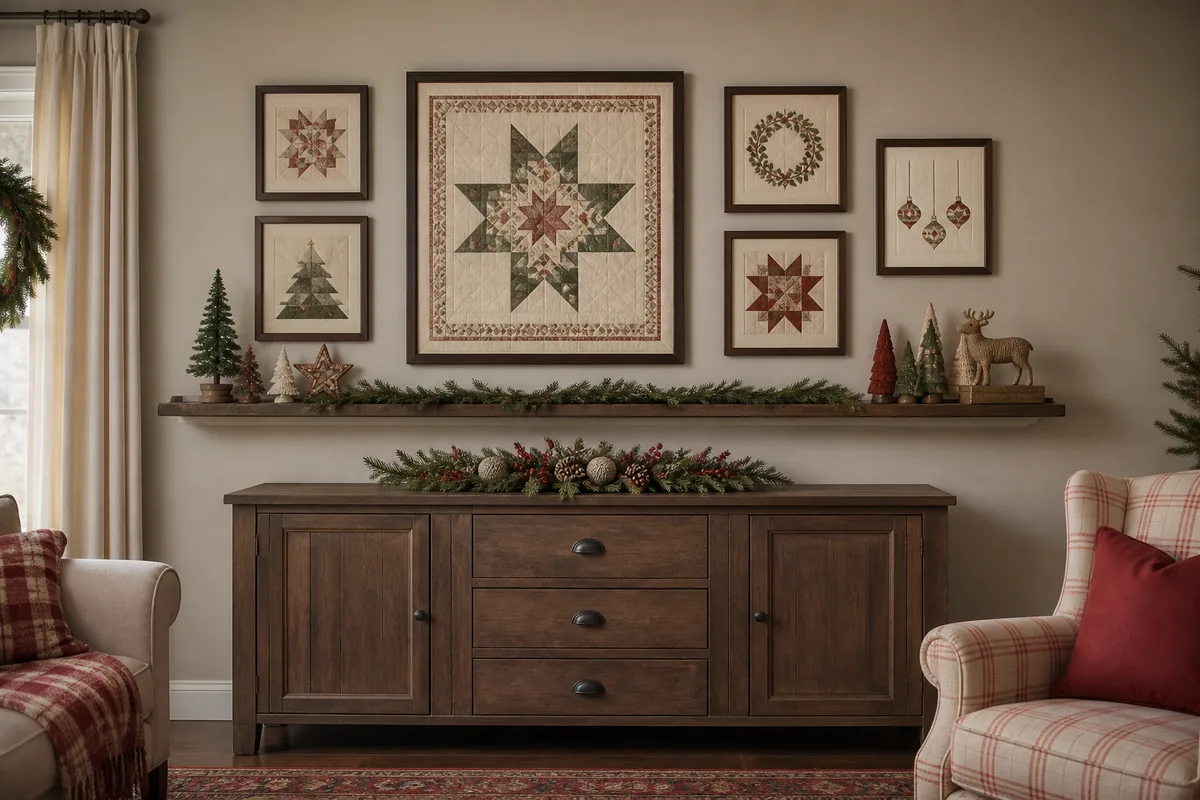
An heirloom ornament wall can bring fragile pieces into view without crowding the Christmas tree, but every ornament needs independent support. This design uses a 36-by-48-inch fabric-covered panel mounted to wall studs or suitable anchors. Twenty to thirty ornaments fit comfortably with 3–5 inches between them, leaving room for irregular shapes and handwritten labels.
Inspect and document ornaments first
Work over a padded table covered with a clean towel. Photograph the front and back of each ornament and note names, dates, maker, material, and any existing crack or loose hanger. Do not display an object whose cap, loop, glue joint, or thread is unstable. Place it in a padded box until it can be assessed or repaired by someone familiar with the material.
Weigh the heaviest ornament. Hooks and panel hardware should be chosen from actual weights, not appearance. Glass ornaments often weigh little but fail easily when two pieces swing together; carved wood may need stronger hardware despite being less fragile.
Construct a neutral display panel
Use a rigid ½-inch plywood panel measuring 36 by 48 inches, or purchase a framed fabric bulletin panel with a verified load rating. For a custom panel, wrap the face with thin cotton batting and tightly woven warm-ivory linen. Pull the fabric smooth around the back and staple it every 3 inches, keeping staples at least 1 inch from the panel edge.
Add a simple 1-by-2-inch wood frame around the perimeter if desired, but avoid fresh paint touching ornaments. Let finishes cure fully according to the manufacturer. Mount a French cleat or two heavy-duty D-rings to the back, then attach the panel to studs or wall anchors rated well above the total panel and ornament weight. This installation is an adult job.
The bottom of the panel should sit at least 36 inches above the floor and away from doors, vents, direct sun, fireplaces, and furniture that children can climb. Gently pull downward after mounting; the panel must not shift or lift from its hardware.
Plan spacing with paper templates
Trace each ornament loosely onto kraft paper and write its name on the template. Arrange templates on the panel before installing hooks. Place the largest or most meaningful object slightly above center, then distribute visual weight rather than lining pieces by age or size.
Leave 3 inches between sturdy ornaments and 5 inches around fragile glass, long drops, or pieces with projecting arms. Maintain a 2-inch clear border around the panel. Photograph the final paper plan so every ornament has a defined location.
Give every ornament an independent support
Use small screw eyes in the plywood or panel hooks specifically rated for the backing. Do not use pushpins, straight pins, tape, or one ribbon stretched across multiple ornaments. Pre-drill tiny pilot holes for screw eyes to avoid splitting the wood.
Replace weak metal tree hooks with soft cotton cord or archival polyester looped through the ornament’s sound original hanger. Attach that loop to the panel hook. For especially valuable pieces, add a second loose safety loop to a separate hook below or beside the first. It should catch a failed primary hanger without pulling the ornament sideways.
Hang the lowest row first so your hands do not brush objects already installed. After each ornament is placed, gently move the panel edge; nothing should touch, swing into a neighbor, or rotate against the fabric.
Add labels without touching the objects
Print or handwrite small labels on acid-free cardstock. Include the maker or family name and date when known; use “date unknown” rather than inventing information. Mount labels 1 inch below each object with removable photo corners attached to the fabric backing. Adhesive should never touch an ornament, ribbon, or historic paper.
Use a nearby battery picture light only if it produces negligible heat and does not shine continuously. Limit direct light exposure, especially for textiles, photographs, and painted surfaces. Real candles and hot string lights do not belong near the panel.
Take the wall down safely
Remove ornaments from the top row downward with both hands over a padded table. Check each against its condition photograph and note any change. Wrap pieces individually in acid-free tissue, place them in divided archival boxes, and store them in a stable interior closet.
Leave hooks in the labeled panel for next year or map their positions before removal. A secure heirloom wall is successful when the stories are visible during Christmas and every object returns to storage in exactly the condition in which it arrived.
Keep a printed inventory in the storage box and a digital copy with the photographs. Assign each ornament a simple identifier that also appears on its tissue wrapper; never write directly on the object. If a hook loosens, a crack grows, or paint begins to flake, remove the ornament immediately and record the change. Seasonal display should never take priority over preserving an irreplaceable family piece.