Use one six-foot table with three low product zones, large fixed prices, reserve stock below, and a separate adult-managed payment corner.
School Winter Market Handmade Booth Ideas
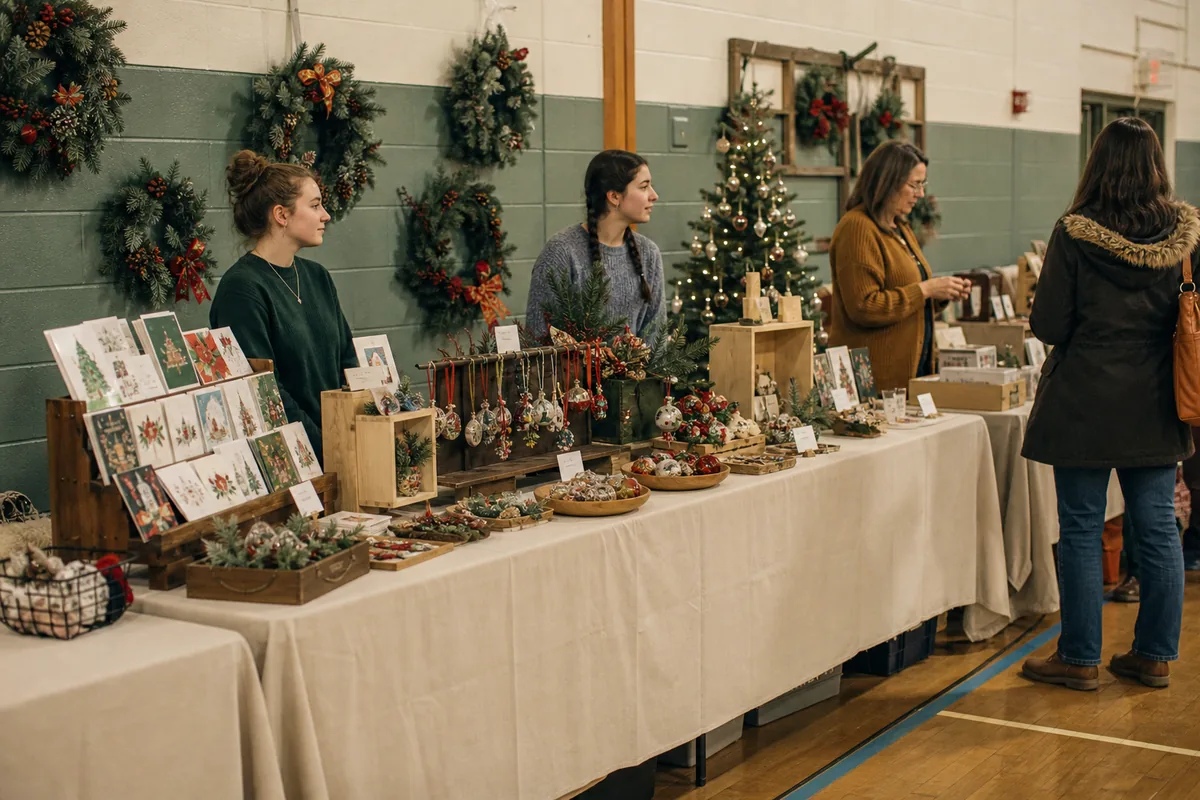
A school winter market booth must be simple enough for students to restock and explain, while remaining stable in a crowded gym or hallway. One 6-foot table can display three product groups, leave room for checkout, and keep bags and reserve stock hidden. The goal is not to imitate a professional store; it is to make student work easy to see, price, and purchase safely.
Confirm rules before designing the booth
Ask the organizer for the exact footprint, table size, setup time, payment policy, fire rules, and accessibility requirements. Confirm whether students may handle cash, whether electrical outlets are available, and whether food must be separated from crafts. Never assume homemade electrical products, cosmetics, candles, or edible items are permitted.
Choose one adult as the booth lead. Assign students short roles such as greeter, product explainer, stock runner, and bag helper. Rotate roles on a schedule so no child is responsible for money, personal data, or crowd control without adult supervision.
Divide one table into clear product zones
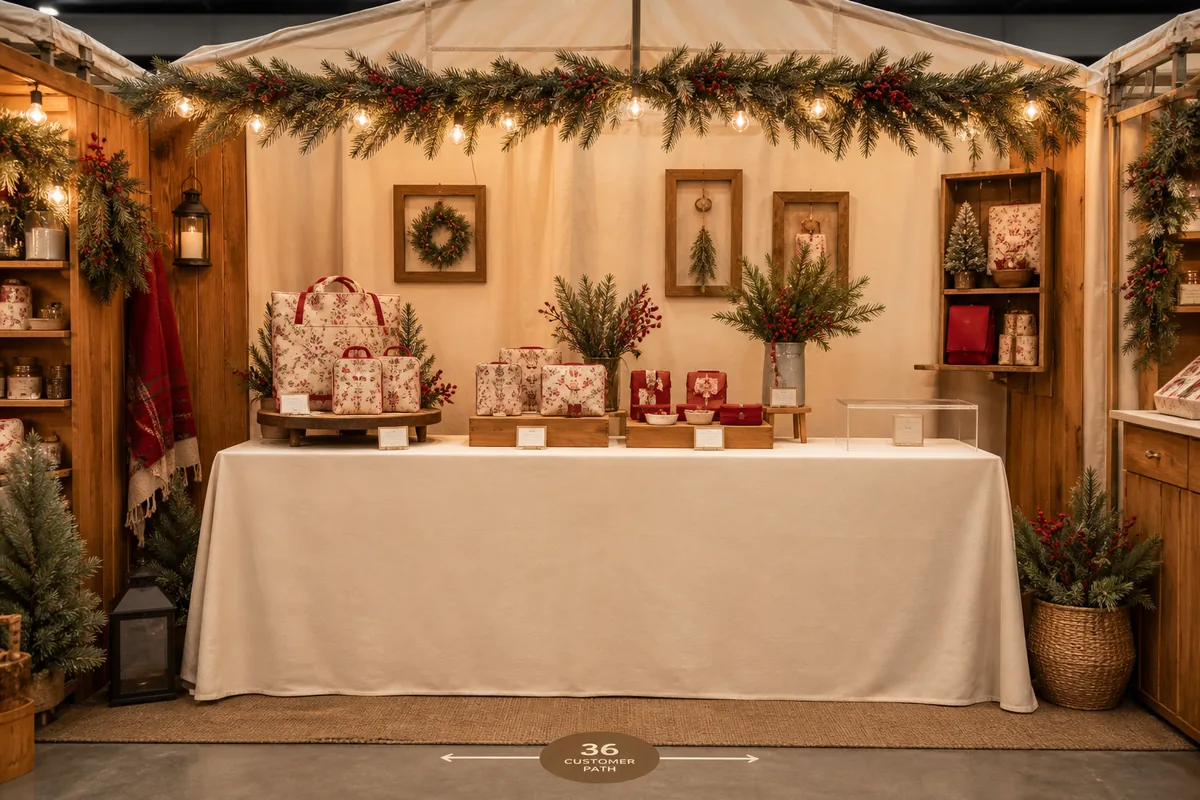
Cover the table with a fitted or floor-length cloth secured so no fabric lies in the aisle. Reserve the final 18 inches at one end for checkout. Divide the remaining surface into three zones: low-cost small items at the front, medium items in the center, and one featured class project on a low riser at the back.
Use risers no higher than 8–10 inches. Cardboard boxes can work when fully covered and tested with the heaviest product, but they should not overhang the table. Avoid tall grids that students cannot reach or lightweight stands that may tip when bumped.
Keep products in shallow trays with no more than 8–12 items visible at once. Label reserve stock in bins beneath the table. If a product sells out, remove its empty tray rather than filling the space with unrelated decoration.
Make prices understandable to children
Use whole-dollar or simple half-dollar prices when possible. Place one large sign at each tray, using dark type on warm-white card and numbers at least 1 inch high. If proceeds support a class goal, state it accurately in one sentence without pressuring shoppers.
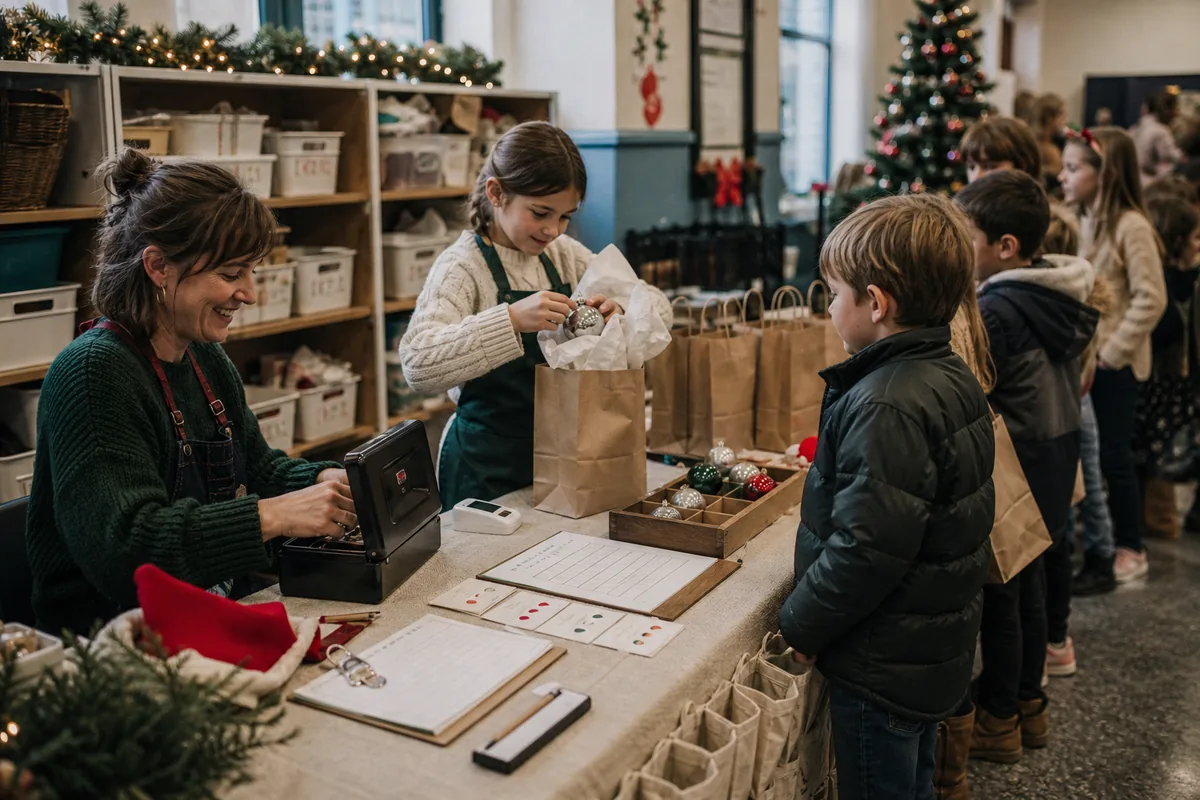
Color-coded dots can help younger students restock—red tray, red stock bin—but they should supplement written prices, not replace them. Avoid tiny individual stickers on delicate crafts. A simple inventory sheet at checkout should list product name, starting quantity, and price.
Add restrained winter decoration
Choose two school-approved colors plus warm ivory. Paper stars mounted to the back sign, a short faux evergreen strand, and kraft-paper price cards create enough seasonal atmosphere. Keep loose pinecones, glass ornaments, bells, glitter, and artificial snow off the table; they are easily swallowed, spilled, or mistaken for merchandise.
Use battery LED lights only if the organizer allows them. Tape the wire and battery pack behind the sign or riser. Do not use real candles, hot lamps, extension cords across walkways, or greenery that blocks visibility between supervising adults and students.
Create an adult-managed checkout
Leave an 18-by-18-inch clear surface for payment and bagging. Place paper bags upright in a box, tissue in a shallow tray, and sold-item stickers near the adult. Cash should remain in a closed box or apron controlled according to school policy. If digital payment is used, protect the device and do not display a personal phone number or account information on public signage.
Position the queue along the front or side without blocking neighboring booths, exits, or the accessible route. One student can direct shoppers to the product zones while the adult completes transactions.
Rehearse setup and student explanations
Build the booth in the classroom before market day. Photograph the finished arrangement, label the underside of each tray by zone, and pack items in setup order. Shake the table gently and correct anything that rolls, leans, or falls.
Give students a two-sentence description for each product: what it is and how it was made or used. They should never claim that an item is food-safe, flame-safe, washable, or suitable for young children unless an adult has verified that statement.
During the event, restock in small amounts and keep personal belongings under the table. At closing, count remaining products with two people, record damaged items separately, and pack display components for reuse. A calm, legible booth lets the handmade work—and the students who made it—remain the focus.
Prepare for busy and quiet periods. During a rush, one student greets while another bags, and the adult handles every payment; product explanations can wait until the line shortens. During quiet minutes, students straighten trays, compare the inventory sheet with visible stock, and remove litter. They should not call to passersby, leave the booth to recruit shoppers, or photograph visitors without school-approved consent. Post the student role schedule behind the table.