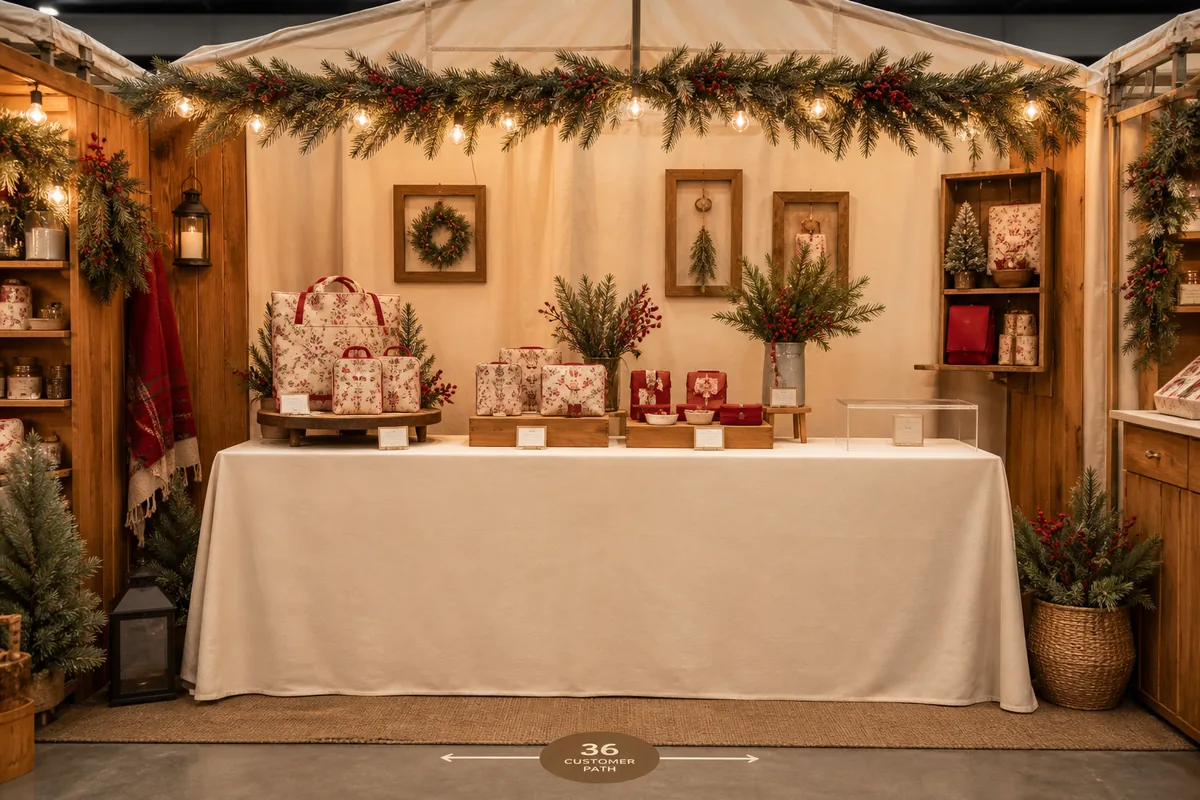
Divide a six-foot table into an attention zone, a touch-and-compare zone, and a checkout zone, then use three display heights and one restrained holiday palette.
Artisan Christmas Pop-Up Display Ideas
A successful Christmas pop-up does more than look festive: it helps a shopper understand what is for sale, compare options, find a price, and pay without blocking the next customer. The following layout is designed for one standard 6-foot table inside an 8-by-10-foot booth. It uses portable materials, hides reserve stock, and creates enough holiday character without burying handmade products under decoration.
Build the display around three shopping zones
Stand in the aisle and divide the table visually into thirds. Use the left third as the attention zone, where one bestselling or most distinctive collection sits at eye level. The center is the touch-and-compare zone for items available in multiple colors or sizes. Reserve the right third for checkout, packaging, and one small add-on product.
This sequence suits shoppers moving left to right, but reverse it if foot traffic approaches mainly from the opposite direction. Keep at least 24 inches of the front edge free of tall objects so customers can reach merchandise. If people must enter the booth, maintain a 36-inch clear path and confirm the event’s accessibility and fire-code requirements.
Create three useful display heights
Flat tables make small crafts disappear. Start with a floor-length warm-ivory tablecloth and secure excess fabric so it cannot trail into the aisle. Add a central riser 16–20 inches wide and 10–12 inches high. Two lower risers, approximately 6 inches high, can sit to either side. Lightweight nesting crates or sturdy boxes work well when completely covered and tested under the actual product weight.
Place larger objects and the brand sign on the highest level, mid-priced collections on the lower levels, and small items in shallow trays at the front. Do not stack fragile ceramics or ornaments above shoulder height. A customer should be able to lift one item without moving another.
Limit the first presentation to roughly 60–70 percent of the stock the table could physically hold. Empty space separates collections and makes restocking easier. Store duplicates in labeled bins beneath the table rather than creating deep, unstable piles.
Use one restrained Christmas story
Choose one base color, one evergreen tone, and one accent such as vintage red or muted gold. Repeat those colors in the cloth, price cards, and ribbon rather than adding unrelated decorations. A short faux or fresh evergreen clipping can frame the main riser, but keep sap, shedding needles, and moisture away from paper and textiles.
Use decoration to clarify product groups. A small paper star may mark ornaments; a kraft-paper runner may define giftable sets. Stop when every decorative object has a purpose. Loose baubles, glitter, artificial snow, and open baskets of pinecones consume selling space and can become trip or choking hazards.
Make prices readable without asking
Give every product either an individual tag or a clearly matched group sign. Use high-contrast type at least 18 points on tabletop cards, and place the price beneath the product name. If variations cost different amounts, list each one explicitly instead of writing “from” without explanation.
The main brand sign should be readable from 8–10 feet away and include only the business name and a short product description. Keep social handles and care instructions on a smaller card near checkout. A QR code can supplement printed information, but it should not be the only way to see prices or payment options.
Plan safe lighting and checkout
Battery-powered warm LED lights are the most flexible option. Conceal the battery pack behind a riser while leaving the switch accessible. Tape loose wire to the back of the display, never across the floor or table edge. Do not use real candles, hot bulbs, or lights buried in paper, dry greenery, or fabric.
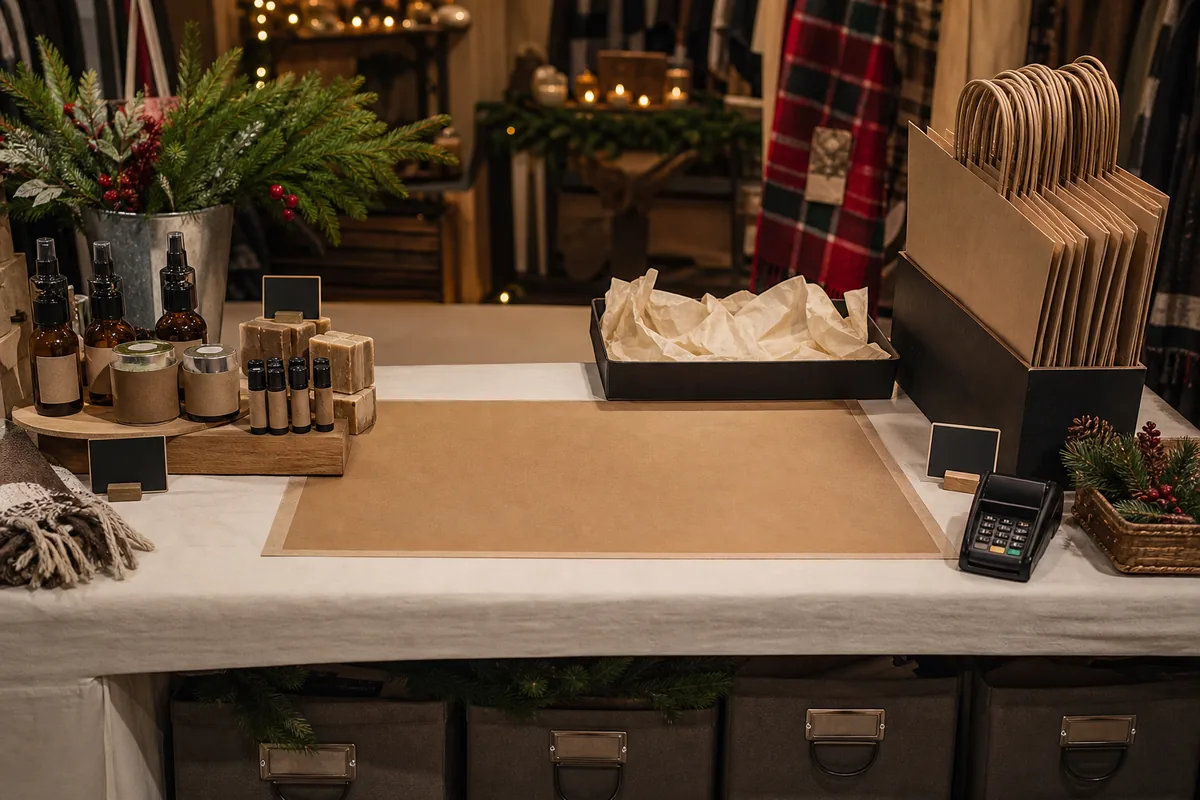
At checkout, leave a clear surface at least 18 by 18 inches for wrapping and payment. Place bags vertically in a file box, keep tissue in one tray, and secure the card reader with its charging cable routed behind the table. Personal drinks, coats, and cash storage belong out of customer view.
Test the display before market day
Assemble the complete setup at home, photograph it from aisle height, and time packing and rebuilding. Check that each riser is stable, all signage can be seen, and reserve stock is reachable without kneeling in front of customers. Pack components by zone—left, center, checkout—so the display can be rebuilt in the same order.
During the event, replace sold items from the back forward and remove empty trays rather than spreading remaining products thinly. The strongest artisan Christmas display stays calm and legible even after several hours of shopping.
Track what shoppers actually touch, ask about, and buy. A simple tally by product zone is more useful than relying on memory after a busy day. Photograph the display at opening, midday, and closing; the comparison reveals whether signs disappeared behind products or empty spaces weakened the composition. Use those observations to revise quantities and riser positions for the next pop-up rather than rebuilding the entire visual identity.