The eight-page pack provides house nets, roof and base pieces, trees, stars, snowbanks, window silhouettes, calibration marks, and assembly safety guidance.
Free Paper Village and Window Scene Templates
A tabletop paper village and a window scene may share house silhouettes, but they require different construction. The village needs folds, tabs, stable bases, and roof pieces; the window display needs flat shapes, clean backs, removable mounting, and safe sightlines. Download the US Letter or A4 HollyXmas pack listed with this article; each includes house nets, roof and base pieces, trees, stars, snowbanks, window modules, and safety notes.
What is included in the eight-page pack
The pack contains house nets, matching roof and base pieces, evergreen trees, stars, snowbank strips, and separate flat window silhouettes. Both the US Letter and A4 editions include a 1-inch calibration square and preserve the same physical template sizes.
Solid lines mean cut, dashed lines mean fold or placement, and text labels keep the instructions clear in grayscale. The house tabs are sized for practical folding and gluing rather than decorative detail.
The low-ink pages keep decorative texture away from essential cut and fold lines.
Print and test the scale
Print at “Actual Size” or 100 percent and measure the calibration square. Do not continue if it is not exactly 1 inch. Printer scaling changes roof fit, wall depth, and tab width even when the difference looks small.
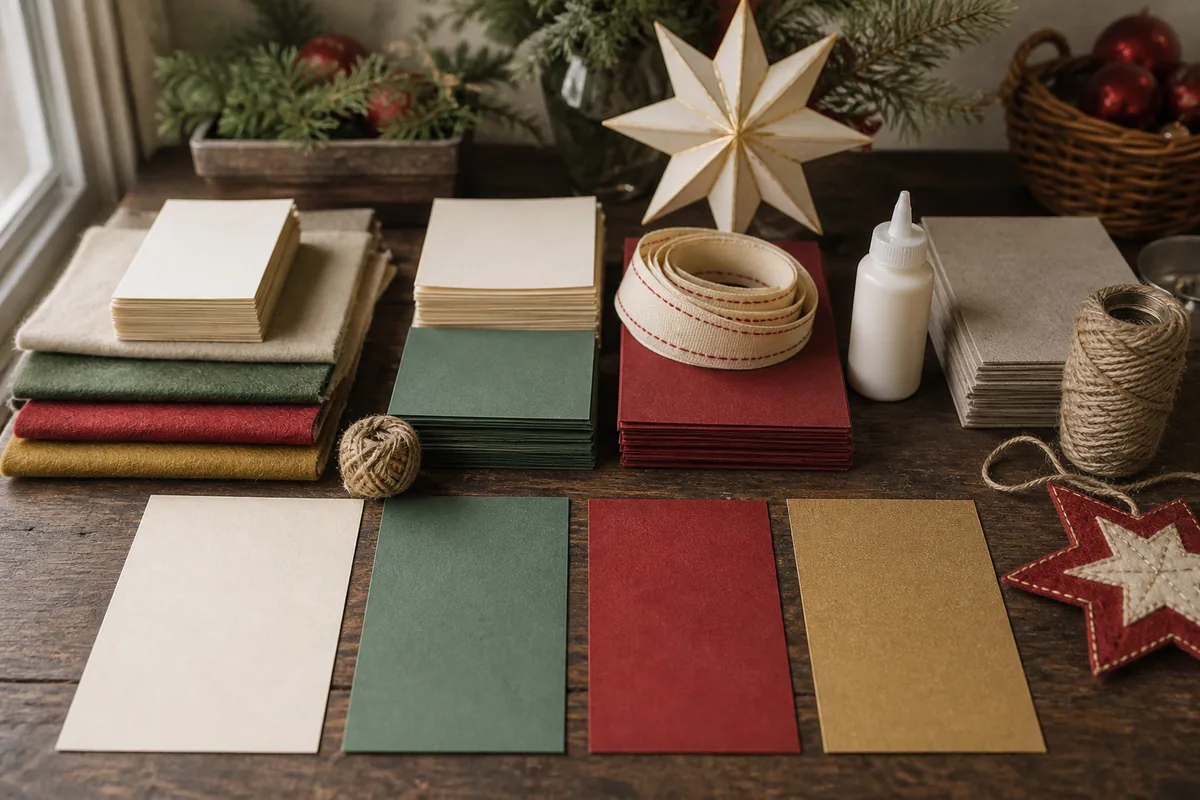
Use ordinary copy paper for the first assembly. It will collapse, but it reveals missing tabs and mismatched edges cheaply. For finished tabletop buildings, choose 216–270 gsm cardstock. The smallest folded details may need lighter stock. Window silhouettes can use 160–216 gsm paper because the glass supports them.
Test dark paper with a white pencil or printed reverse-side cut lines. Glitter and heavily coated sheets are difficult to score, glue, and recycle; use them only for removable accents.
Build one freestanding house
For a 6-inch house, cut the front, back, two side walls, and roof. Score every dashed fold against a metal ruler before cutting small windows. A craft knife produces clean openings but must be used by an adult on a cutting mat, always cutting away from the supporting hand. Children can decorate intact printed windows instead.
Fold tabs inward and dry-fit the walls. Apply a thin PVA layer to one side tab, align the wall edges, and clip until stable. Join the remaining walls, then attach the bottom tabs to a cardstock base at least 1 inch wider than the house. Add the roof last so a hand or ruler can support interior seams.
Allow the structure to cure before adding snowbanks or trees. If walls bow, reduce wet glue and add an interior card brace. If the roof gaps, recheck the score lines and wall squareness rather than forcing it downward.
Use only low-heat battery LED lights outside or behind the building. Never place a candle, incandescent bulb, or unsecured button-cell light inside paper structures.
Arrange a tabletop village
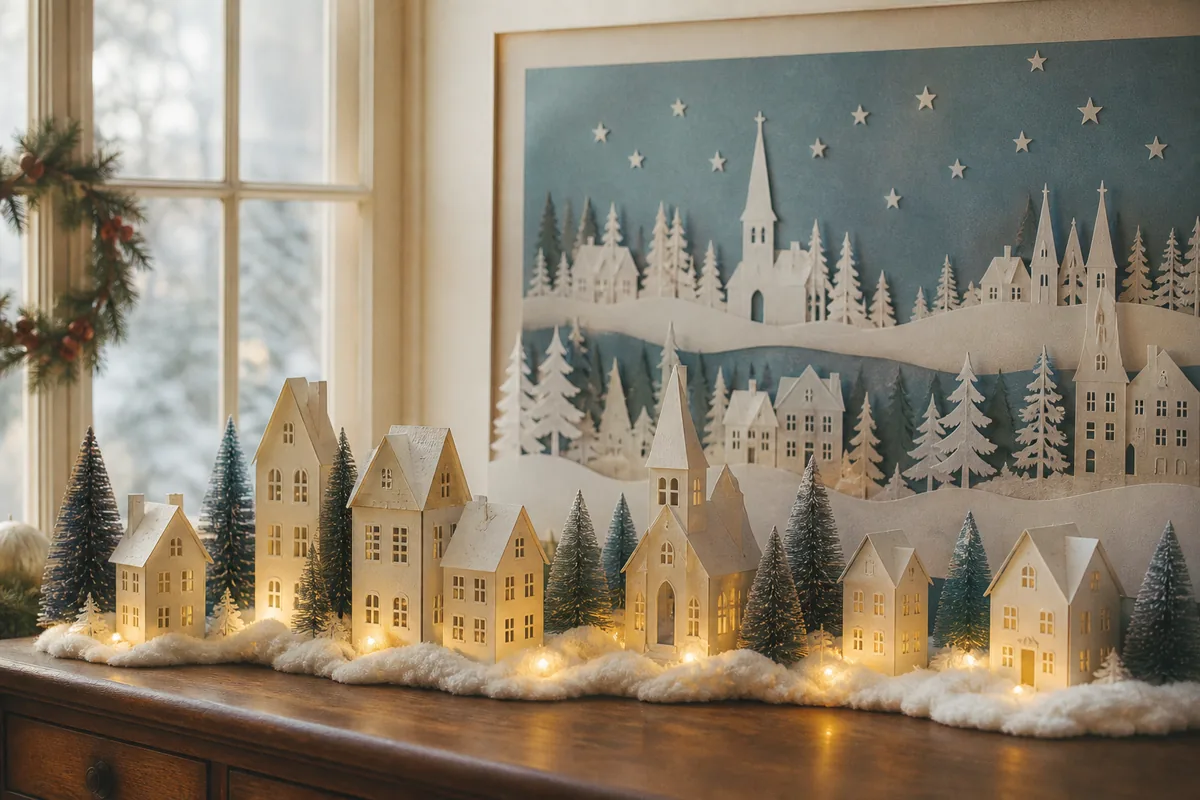
A practical arrangement for a 36-inch mantel or console uses one 8-inch building, two 6-inch houses, three 4-inch houses, and five trees. Cut a 12-by-36-inch base from sturdy board or use three separate 12-inch modules that store more easily.
Place the tallest building off-center and leave at least one house-width between the front and back rows. Create depth with height and overlap, not excessive pieces. Keep the front 2 inches clear so sleeves cannot catch the display. If the surface is above a heater or working fireplace, relocate the paper village entirely.
Photograph the final arrangement and number the building bases before packing. This makes next year’s setup repeatable while still allowing small changes.
Create a removable window scene
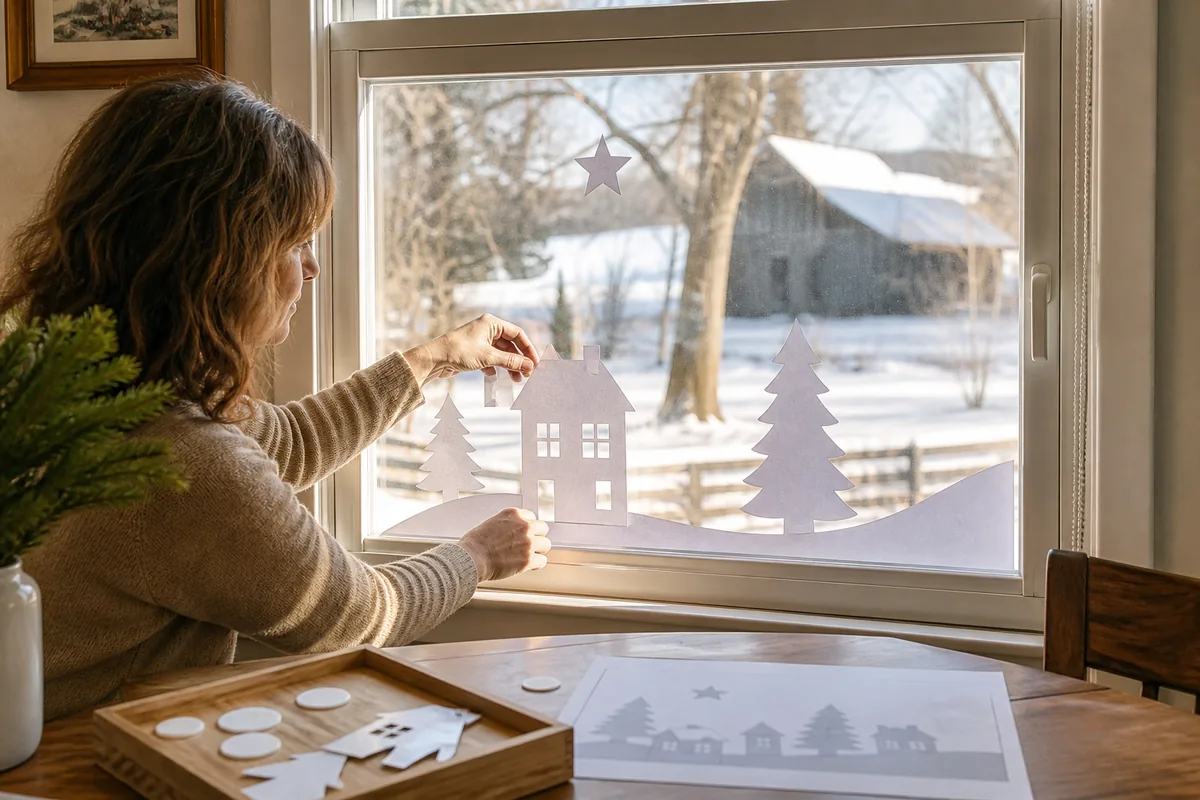
Use flat house fronts, trees, stars, and snowbanks. Clean the glass and test one small piece of the chosen removable mounting material in an inconspicuous corner. Static-cling sheets or manufacturer-approved removable dots are preferable to permanent tape. Do not use adhesive that leaves residue on specialty coatings or historic glass.
Build the composition on a table matching the window dimensions. Keep handles, locks, ventilation openings, and required visibility clear. On a child-accessible window, place pieces where they cannot encourage climbing or interfere with blinds and cords.
Apply the center building first, then snowbanks, side houses, trees, and stars. View the scene from indoors and outdoors; the back must be intentional because tape and glue may be visible through glass. Avoid names, addresses, school identifiers, or silhouettes that reveal private interior information.
Store the pieces for reuse
Slide flat window pieces between sheets of acid-free tissue in a rigid folder. Store house modules in shallow boxes without stacking weight on roofs. Keep lights and batteries separate; remove batteries for long storage according to manufacturer guidance.
Choose your paper format. Each edition contains 8 pages. Print at 100 percent or “Actual Size,” then verify the 1-inch calibration square before cutting project materials.
If downloading does not start, open the A4 PDF or US Letter PDF, then save it from your browser.
The included license permits personal and single-classroom use and small-batch sales of finished handmade villages or window scenes. Do not sell, upload, redistribute, or include the PDF template files in another product.
The PDF editions include their use license and have been rendered to confirm page size, line contrast, calibration, page order, and safe margins. Make one copy-paper test before cutting specialty cardstock because printer feed and paper stiffness still vary.