Begin with accurate measuring, clean cutting, controlled gluing, simple hand stitching, and secure hanging; practice each skill on inexpensive scraps before combining them in a finished ornament.
A Beginner’s Guide to Christmas Craft Skills
The fastest way to become comfortable with Christmas crafts is not to buy a large supply kit. It is to practice five repeatable skills—measuring, cutting, gluing, stitching, and hanging—on inexpensive material before attempting a keepsake. A beginner can complete the exercises below in two or three sessions, then use the same techniques for paper stars, felt ornaments, gift tags, garlands, and simple tabletop decorations.
Build a small, useful tool kit
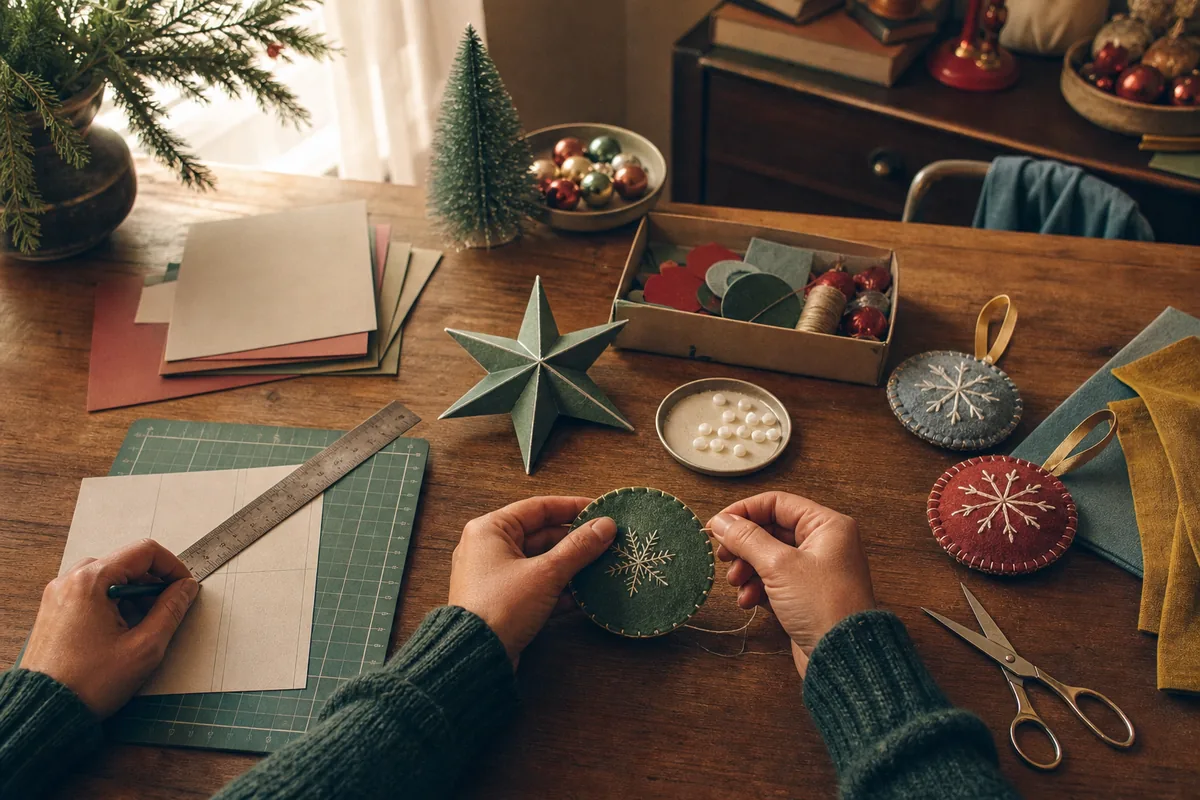
Start with a self-healing cutting mat, a 12-inch metal ruler, a pencil, paper scissors, fabric scissors, a craft knife, a bone folder, sewing needles, pins, and clips. Add PVA craft glue, a glue stick, sewing thread, and cotton twine.
Keep paper and fabric scissors separate because paper dulls fabric blades. Use a craft knife only on the cutting mat, always drawing the blade away from the supporting hand. Replace a dragging blade instead of pressing harder. Children should use age-appropriate scissors while an adult handles knives, hot glue, wire, and small parts.
For practice, collect cardstock, cardboard, wool-blend felt, cotton, ribbon, and clean packaging paper. Scraps reveal how a material behaves without risking a final piece.
Skill one: measure and mark accurately
Make a 3-inch cardstock square, then mark a centered 2-inch square inside it. Measure from the same edge each time; switching reference edges can compound small errors. Draw light pencil ticks rather than long heavy lines, and connect them with the ruler only after checking both dimensions.
Next, find the center by drawing faint diagonal lines from corner to corner. This simple construction is useful for stars, symmetrical ornaments, rosettes, and evenly placed hanging holes. If repeated pieces need to match, create one sturdy cardboard template and trace that template rather than remeasuring every piece.
Skill two: cut and fold cleanly
Cut the outside of the practice square with scissors, keeping the blades pointed forward while rotating the paper with your free hand. For the inner square, place the cardstock on the mat and make several light knife passes along the metal ruler. One forceful pass is more likely to slip or tear the corners.
To practice folding, cut a 2-by-8-inch strip of cardstock. Mark every inch, score each line lightly with a bone folder against the ruler, and accordion-fold the strip. A score compresses fibers so the fold lands exactly where intended. Fold with the scored indentation on the outside of the bend. If the surface cracks, reduce pressure or choose a paper with a less brittle coating.
Skill three: control glue instead of flooding the project
Place three 1-inch paper shapes on scrap card. Attach the first with a glue stick, the second with five tiny dots of PVA, and the third with a thin PVA line spread by a toothpick. Press each beneath a clean sheet of paper and a book for ten minutes. Compare wrinkling, edge lift, and squeeze-out.
Use a glue stick for flat paper layers that will remain indoors. Choose PVA for porous materials and stronger paper joints. Apply adhesive to the smaller piece, stopping about 1/8 inch from its edge. Clips or a flat weight usually produce a neater bond than adding more glue. Let structural joints cure for the time stated on the bottle before loading or hanging them.
Skill four: sew a basic felt seam
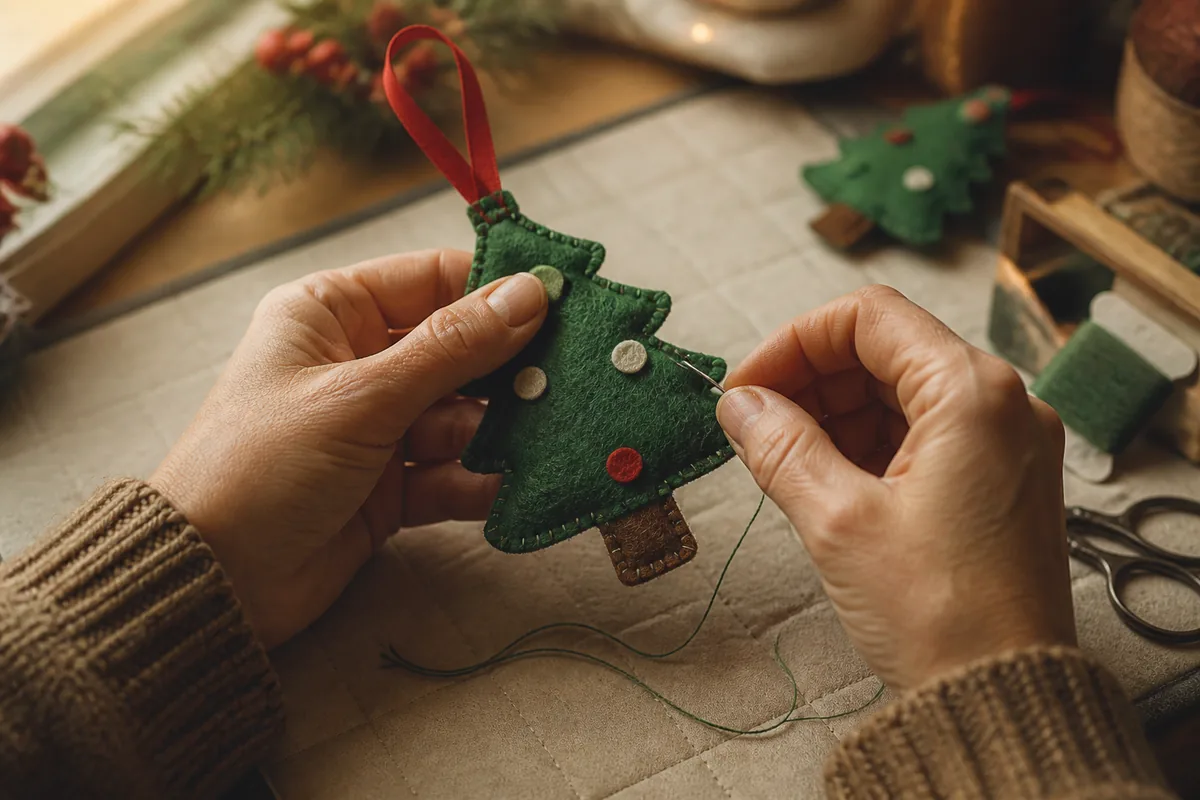
Cut two 3-inch felt circles from one template. Thread a needle with 24 inches of doubled thread and knot the ends. Place the circles together and practice a running stitch 1/4 inch from the edge, making stitches about 1/4 inch long. Continue with a whipstitch on the second half, bringing the needle around the edge at even intervals.
Leave a 1-inch opening, add a small amount of polyester fill or clean wool, and close the seam. If the felt puckers, the thread is too tight. If filling escapes, the stitches are too far apart. Count the first few stitches to establish a rhythm, but judge the finished seam from normal viewing distance rather than chasing machine-perfect spacing.
Skill five: make a hanging loop that stays centered
Cut 8 inches of narrow ribbon or twine and tie the ends together with an overhand knot. For a sewn felt ornament, place the knot inside before closing the top seam and stitch through the loop several times. For a paper ornament, sandwich the knotted end between two glued layers over at least 1 inch of surface.
Test every loop over a padded table. Hang the ornament from a hook and add a gentle downward pull for ten seconds. Do not hang handmade items above a bed, crib, doorway, or fragile object unless the support and ornament have been tested for that location.
Combine the skills in one first project
Make a simple layered tree ornament. Cut two 4-inch felt triangles and one 1-by-2-inch brown felt trunk. Sew the tree edges, inserting the trunk at the bottom and an 8-inch ribbon loop at the top. Add three 1/2-inch paper or felt circles with small PVA dots, keeping embellishments away from the outer seam. Allow glue to dry flat before hanging.
Plan 45 to 60 minutes for the first ornament and 25 to 35 minutes for later copies. The project is beginner-friendly because every joint remains visible and repairable. Replace small circles with stitched lines if the ornament is intended for a home with toddlers or pets.
Diagnose the result before buying more supplies
Uneven shapes usually begin with an inaccurate template, not poor decoration. Warped paper points to excess wet glue. Loose embellishments mean the adhesive did not suit the material or was loaded too soon. Twisted ornaments need a centered loop or balanced weight. Correct the structural cause before covering it with ribbon.
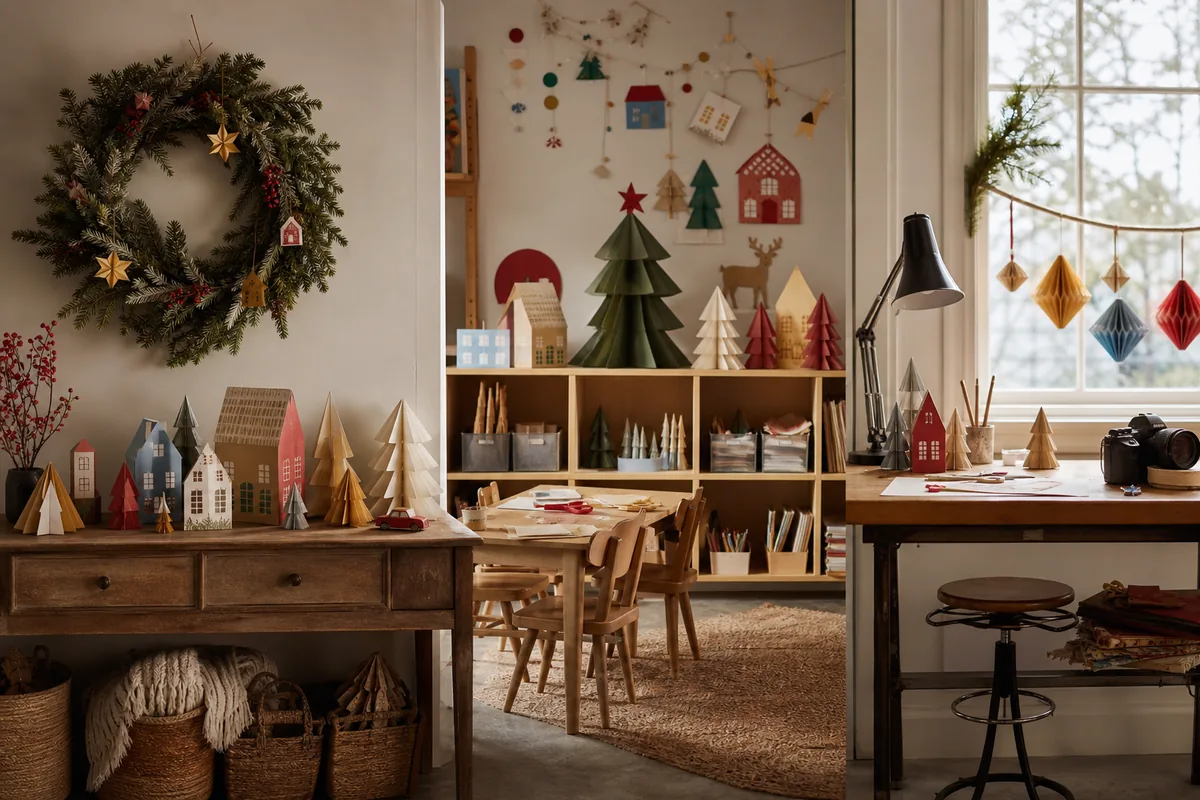
Keep the successful template, note the materials used, and photograph the finished sample. With these five skills established, a beginner can progress to folded paper villages, stitched ornament sets, gift-tag printing, and lightweight garlands without relearning the basics each time.