Choose one focal craft, repeat two supporting materials and three colors, then adjust height, durability, labels, and access to the needs of the room.
Christmas Craft Styling for Home School and Studio
A handmade Christmas scene looks coherent when every object has a role. Begin with one focal craft, add a small supporting group, and leave enough empty space to see both. The same wreath, paper village, or ornament collection needs a different arrangement in a living room, classroom, and working studio because viewing distance, handling, storage, and safety change with the setting.
Create a three-part visual plan
Before moving objects, write down the scene’s anchor, supporting texture, and functional requirement. An anchor might be a 20-inch wreath or a 24-inch paper village. Supporting texture could be evergreen, linen, wood, or folded paper. The functional requirement may be an unobstructed lamp, student access to a supply tray, or clear space for photographing products.
Limit the palette to three main colors plus the room’s neutral. A useful HollyXmas combination is evergreen, faded red, and muted gold on warm ivory. Repeat each accent at least twice, but vary its scale: one red ribbon, two red ornaments, and a small red gift tag feel connected without forming a matched set.
Gather the display on the floor or a spare table first. Photograph it in grayscale on a phone. If every object has the same visual weight, remove one-third and enlarge the anchor rather than adding more decoration.
Style a home console without losing function
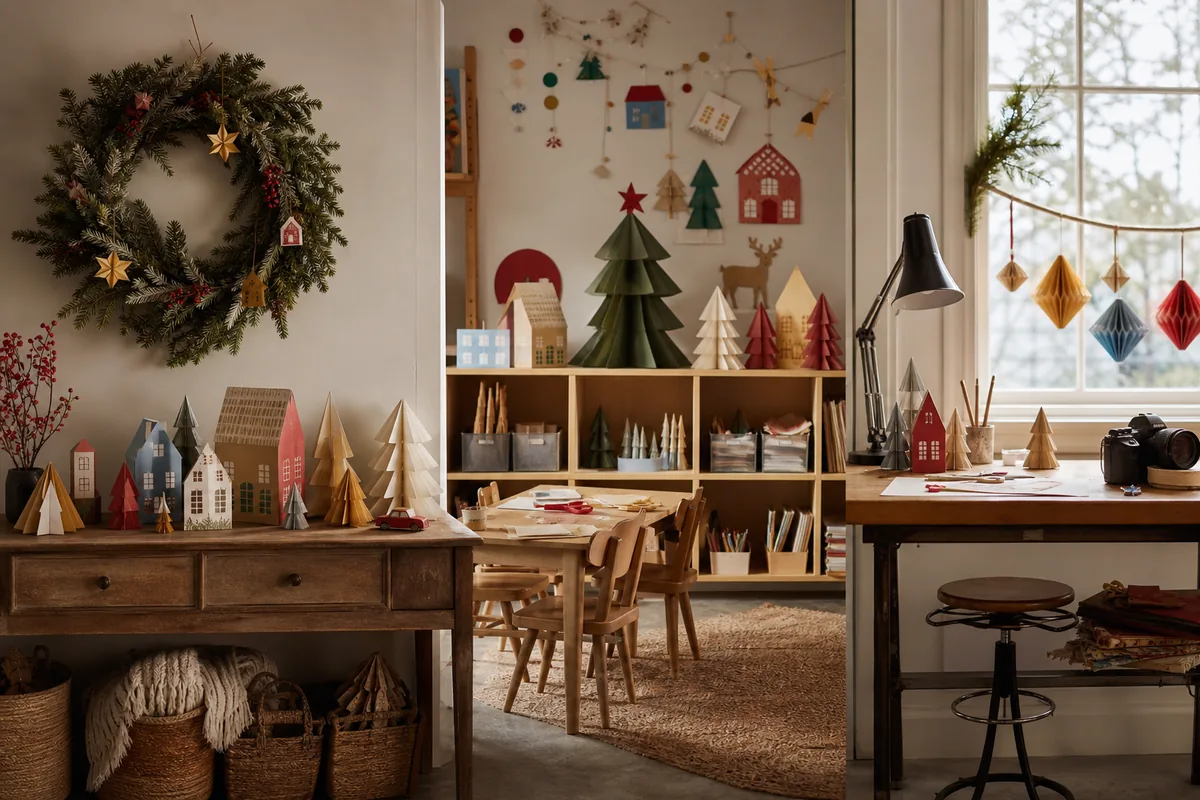
For a 60-inch console or sideboard, reserve at least 18 inches for keys, a lamp, or serving space. Place the tallest element off-center, around one-third of the way across the surface. Keep its height below nearby artwork and away from lampshades. A 20- to 24-inch wreath leaning against the wall can anchor a 12-inch paper village and a shallow bowl of ornaments.
Build three heights: approximately 4, 10, and 20 inches. Use a stable wooden box or stack of books under a linen cloth for the middle level. Do not balance crafts on narrow candlesticks or loose cartons. Keep the front 2 inches of the console clear so sleeves and bags cannot catch decorations.
Use one strand of battery-operated micro lights if illumination adds meaning to the craft. Secure the battery pack behind the anchor with a removable hook-and-loop strip, and keep its switch reachable. Do not mix paper, dried greenery, or fabric with open flames. If children or pets use the room, avoid glass ornaments, exposed wire ends, loose button batteries, and dangling cords.
Build a classroom scene that can survive daily use
A classroom display should communicate from 6 to 10 feet away. Use larger shapes and fewer details than a home vignette. On a 48-inch shelf, divide the width into three zones: a 20-inch class project in the center, a 12-inch information or reflection area, and 16 inches for rotating student work.
Mount lightweight paper pieces with the fastener approved for the wall or board. Keep the display below sprinkler heads, away from exits and heaters, and within the school’s fire and accessibility rules. Names and photographs require the school’s privacy policy and family permissions; initials or anonymous artist cards are safer defaults.
Place any item students may touch between waist and shoulder height. Fragile teacher samples can sit higher, but should still have secure support. Store replacement pieces and mounting tabs in a labeled envelope behind the board. A scene remains inviting longer when a damaged star can be replaced in one minute.
Prepare a studio scene for making and photography
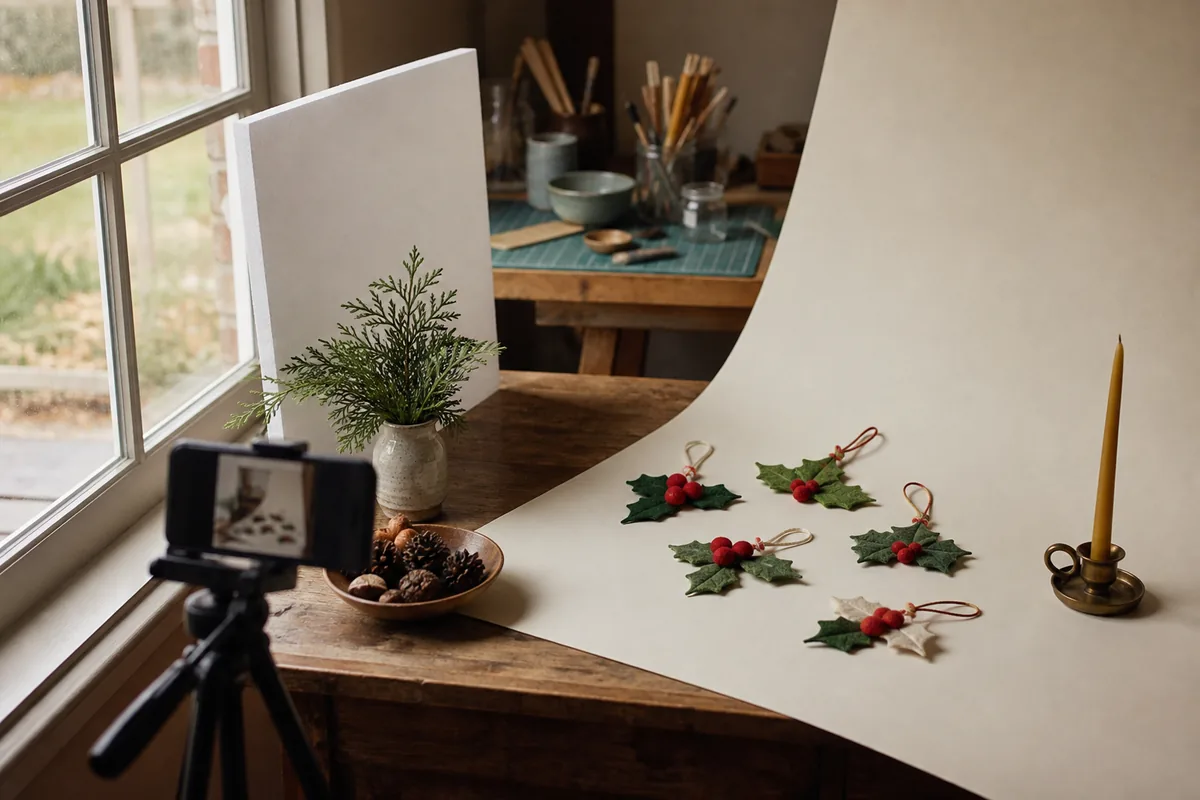
In a working studio, separate the styling surface from the cutting and gluing area. A 30-by-48-inch table near a window is enough for most ornaments and tabletop crafts. Tape a 36-inch-wide roll of warm ivory paper to the wall and sweep it gently onto the table to create a horizon-free background. Clamp rather than permanently glue the paper so it can be replaced.
Place the main craft slightly off-center and turn it until its construction reads clearly. Add no more than three props: for example, a folded linen cloth, one pine sprig, and a spool of ribbon. Props should describe scale or process, not conceal weak edges. Keep branded packaging, unrelated tools, and personal documents out of frame.
Use window light from the side and a white foam board opposite the window to soften shadows. Avoid mixing daylight with a warm ceiling bulb because the colors become difficult to correct. Photograph one wide scene, one medium grouping, and two close details before changing the arrangement; this creates a consistent set for an article or product page.
Adapt one craft across all three settings
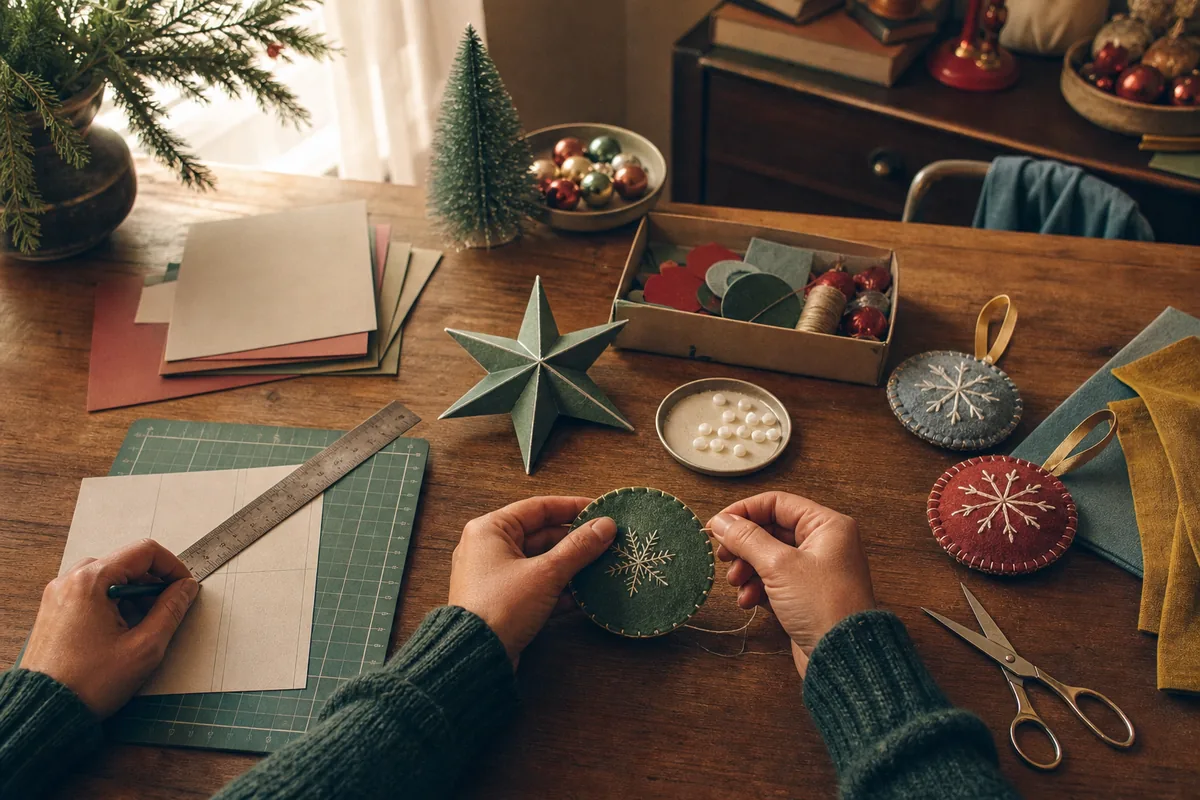
Suppose the anchor is a set of six hand-stitched felt ornaments. At home, hang three from a small branch in a weighted vase and place three in a shallow bowl. In a classroom, attach enlarged paper versions to a board and keep the originals in a clear, secured display box. In a studio, photograph one ornament upright, three overlapping, and the full set with the needle, thread, and template.
The objects remain the same, but access and context change. Home styling prioritizes comfort and integration with furniture. School styling prioritizes visibility, inclusion, and secure mounting. Studio styling prioritizes accurate color, clean sightlines, and repeatability.
Edit the finished scene
Stand at the normal entrance to the room, not directly in front of the display. Check that the anchor is identifiable, functional objects remain reachable, and no decoration enters a walking path. Remove anything that repeats neither color, material, nor story. Finally, take a reference photograph and note the hidden supports. Rebuilding the scene next December will then take minutes instead of an afternoon.