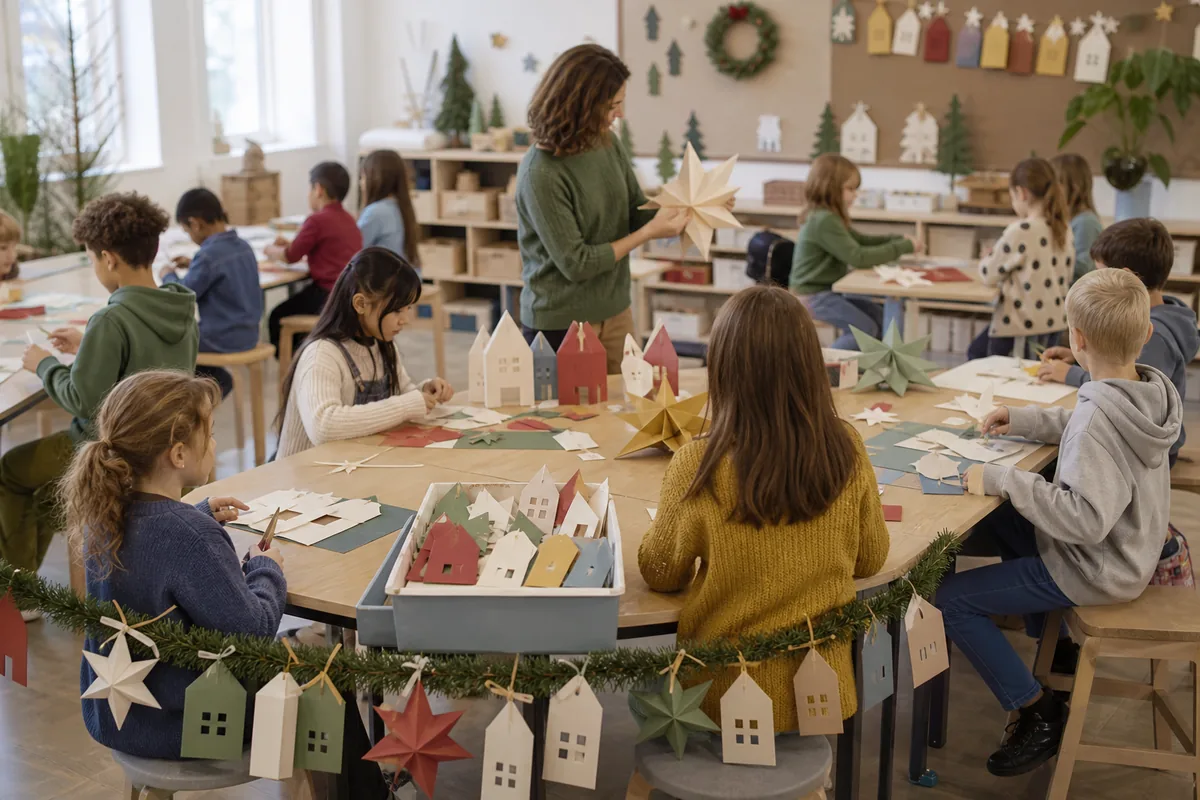
The six-page bundle provides low-ink stars, houses, winter trees, gift tags, shared garland units, and teacher preparation guidance in A4 and US Letter formats.
Free Classroom Christmas Craft Template Bundle
The HollyXmas classroom bundle helps a teacher run one organized making session without inventing patterns, quantities, and display methods at the last minute. Download the US Letter or A4 PDF listed with this article. Both editions contain four low-ink projects, a 1-inch calibration square, teacher preparation notes, and equal-value Christmas and neutral winter choices.
What is included in the six-page bundle
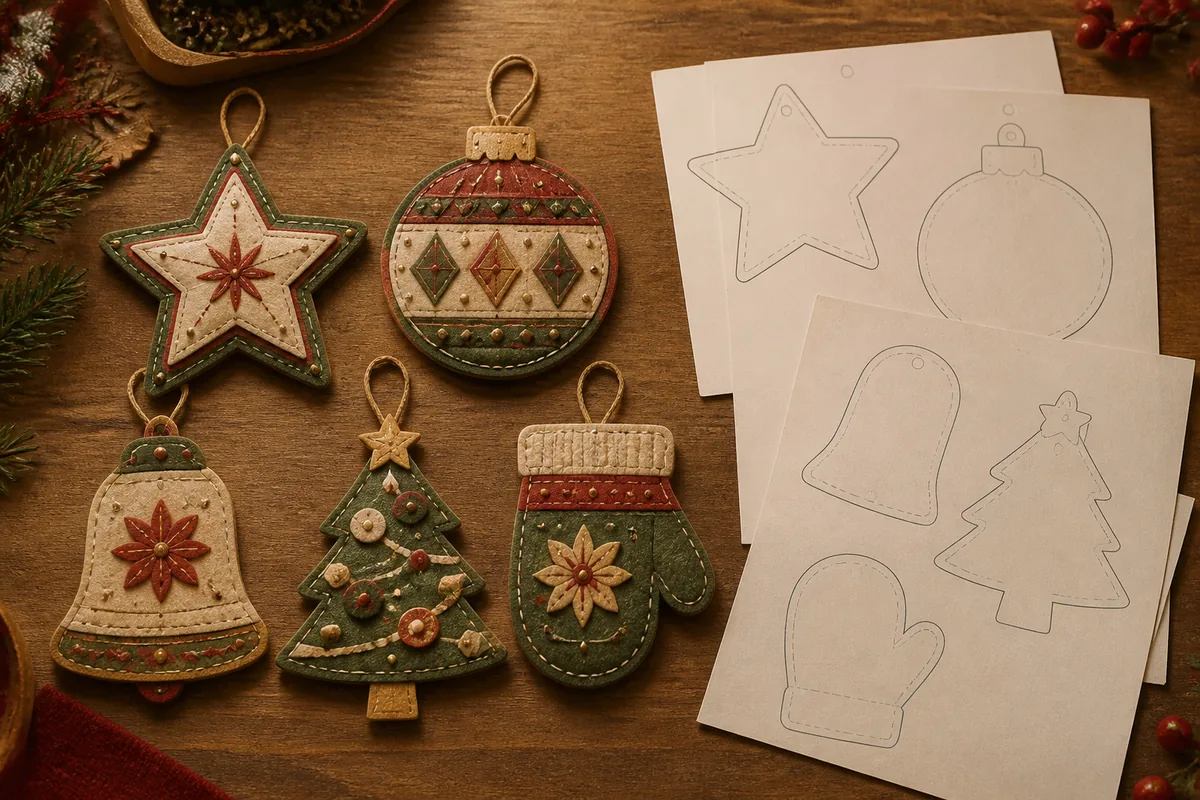
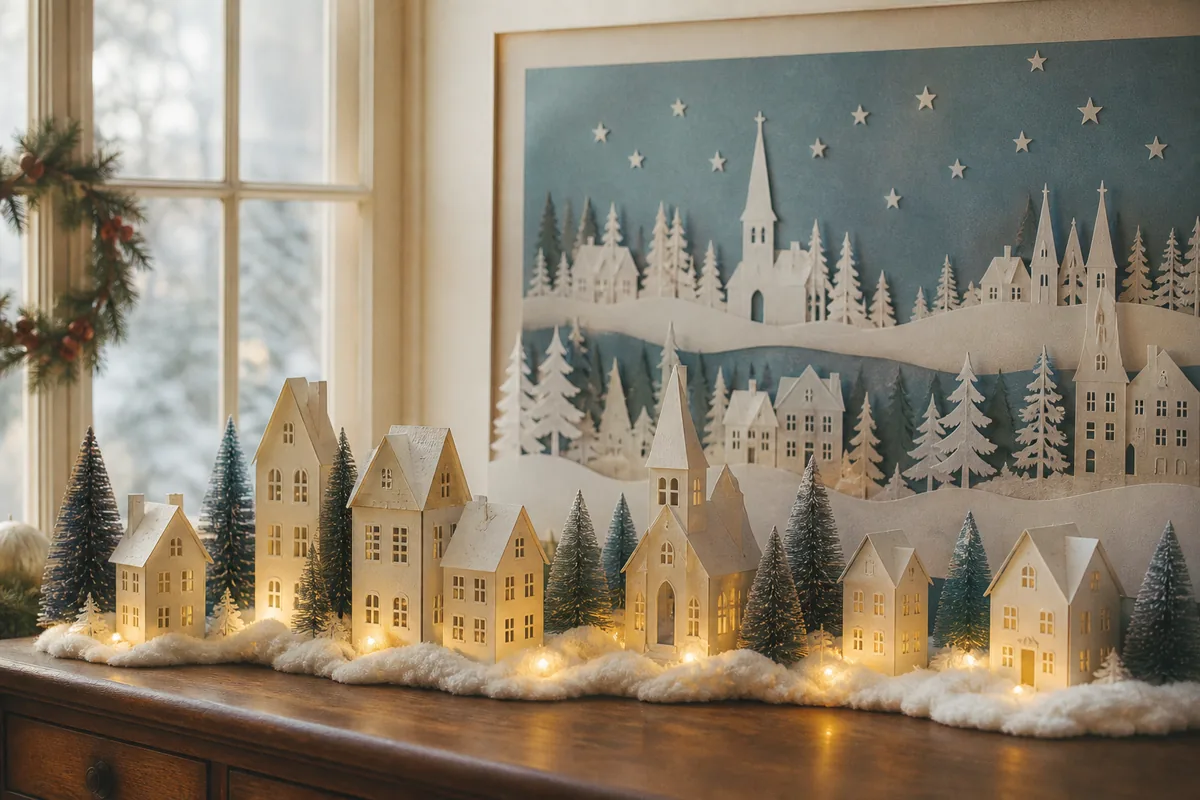
The six-page bundle contains a folded star, houses and winter trees, gift tags, shared garland units, and a teacher preparation page. The projects use low-ink outlines, large cutting areas, and optional opportunities for scoring, symmetry, layered details, or individual decoration.
The US Letter and A4 editions preserve the same physical pattern sizes. Solid lines indicate cuts, dashed lines indicate folds or placement, and the 1-inch calibration square verifies print scale. Instructions do not rely on color alone.
Include a neutral winter motif option of equal complexity and visual importance. School policy, curriculum, and community context determine whether specifically religious or Christmas imagery is appropriate. A child should never be singled out for choosing an alternative.
Plan one 45-minute classroom session
For ages eight and up, allow 5 minutes for demonstration, 25 minutes for making, 10 minutes for assembly or labeling, and 5 minutes for cleanup. Younger groups need pre-cut complex pieces or a simpler single-layer project. Drying time happens outside the session and must have a labeled flat area.
Test the project with the same tools students will use. A teacher cutting a sample with a craft knife does not prove that children can complete it with classroom scissors. Count every separate piece; more than six pieces per student usually increases sorting and loss.
Prepare one finished sample and one partially assembled sample. The partial sample shows where adhesive belongs without making the finished design seem compulsory. Demonstrate from a large copy or document camera so students do not crowd the table.
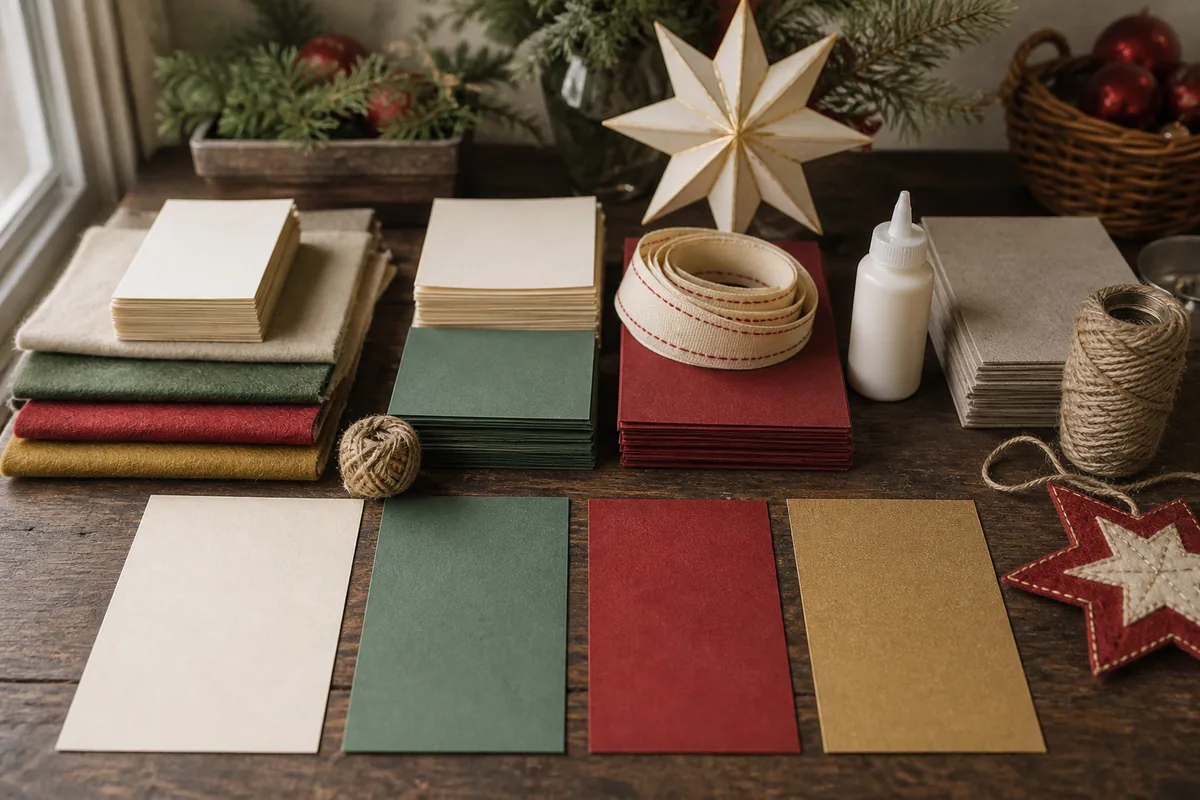
Calculate materials for 24 students
If each student needs one cardstock base and three colored paper details, prepare 24 bases and 72 details, plus 15 percent spare: 28 bases and about 84 details. If one sheet yields four bases, print seven sheets rather than six. Make one complete test from the same batch before printing all pages.
Provide one glue stick for every two students, one paper-scissors pair per student where possible, four shallow scrap trays, and one labeled supply bin per table. For hanging projects, pre-cut 28 ribbon pieces at 8 inches each. Avoid loose coils of cord in early-years rooms.
List allergy and product information for specialty materials. Skip food-based decorations when allergy status is uncertain. Avoid glitter, aerosol sprays, solvent markers, open flame, unsecured button batteries, and small detachable embellishments in groups where those materials create risk.
Differentiate the same project
Differentiation should change the motor or planning demand without labeling the finished work as easier. Provide bold outer lines and a 5-inch shape for students who need larger targets. Offer pre-cut shapes, adaptive scissors, glue sponges, or peel-and-stick paper. A student who cannot cut can choose color placement, arrange units, press glued sections, or document the group display.
The extension version might ask students to create bilateral symmetry, design a repeating border, or calculate how many units make a 10-foot garland. These choices connect art with geometry without requiring extra decorative supplies.
Use pictorial sequence cards alongside written instructions. Ensure sufficient contrast, readable type, and uncluttered page layouts. Before using the bundle with a class, ask a teacher or accessibility reviewer to inspect it rather than assuming that a large font alone makes it accessible.
Assemble and display work safely
Write initials or assigned numbers on the back before materials are distributed. Follow school policy before displaying full names or photographing work. For a garland, a teacher should punch and string dried pieces; students can arrange the order on the floor or a long table.
Mount work only with approved fasteners and keep it away from exits, heaters, sprinklers, ceiling fixtures, and crowded paths. Never suspend cord where it can fall across a walkway or be pulled. Confirm local fire-code and facilities requirements because classroom display rules vary.
Send flat work home in paper folders. Dimensional pieces need shallow boxes or separated tray compartments so wet glue and raised details are not crushed.
Download and verify the resource
Choose your classroom paper format. Each edition contains 6 pages. Print at 100 percent or “Actual Size,” verify the 1-inch calibration square, and build one sample before producing a full class set.
If downloading does not start, open the A4 PDF or US Letter PDF, then save it from your browser.
The included license permits personal and single-classroom use and small-batch sales of finished handmade items. The PDF files may not be sold, uploaded to public drives, redistributed, or included in another product. Teachers who need wider institutional distribution should link colleagues to the HollyXmas download page rather than forwarding the files.
The downloadable files include their use terms and have been rendered at both page sizes to check margins, line contrast, calibration, and page order. A teacher should still build one sample with the actual classroom printer, paper, and student tools before producing a full class set.