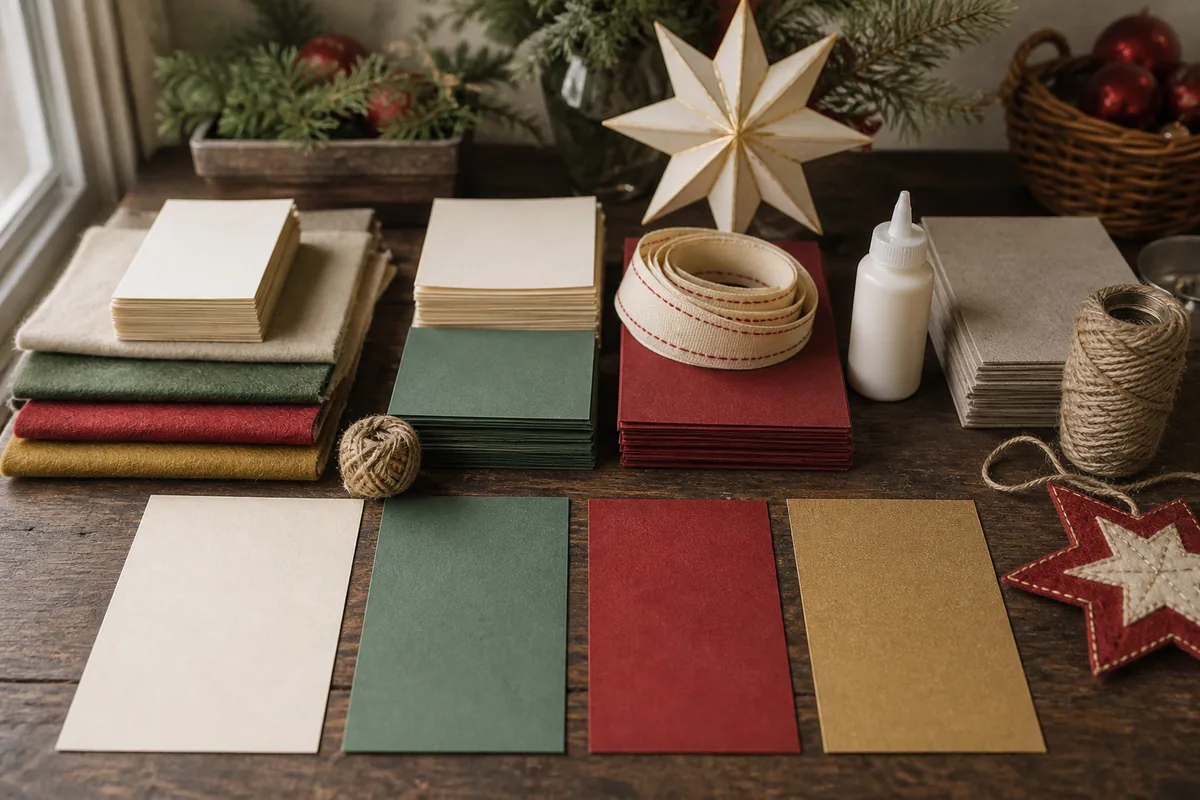
Start with one neutral, one dark anchor, one seasonal color, and one small accent; then buy materials by structural job and test a sample before purchasing project quantities.
Christmas Color Palette and Material Buying Guide
A coordinated Christmas project does not require every supply in the same shade. It requires a clear relationship between color and function. Choose four color roles first, then buy paper, textile, ribbon, adhesive, and structure for the way the finished object will be cut, handled, hung, or stored. This prevents the common mistake of purchasing attractive embellishments before deciding whether the base can support them.
Build a four-color working palette
Assign one color to each role: neutral background, dark anchor, seasonal feature, and small accent. A balanced ratio is roughly 60 percent neutral, 25 percent anchor, 10 percent feature, and 5 percent accent. These percentages are visual guides, not exact material calculations.
For HollyXmas-style projects, try warm ivory #F7F2E8, evergreen #355243, vintage red #B3473D, and muted gold #C6A04A. Add dusty blue #D6E4E6 only by replacing another color, not as a fifth equal competitor. Print or paint 2-inch samples and view them in the room’s daytime and evening light. Screen colors are not reliable buying references.
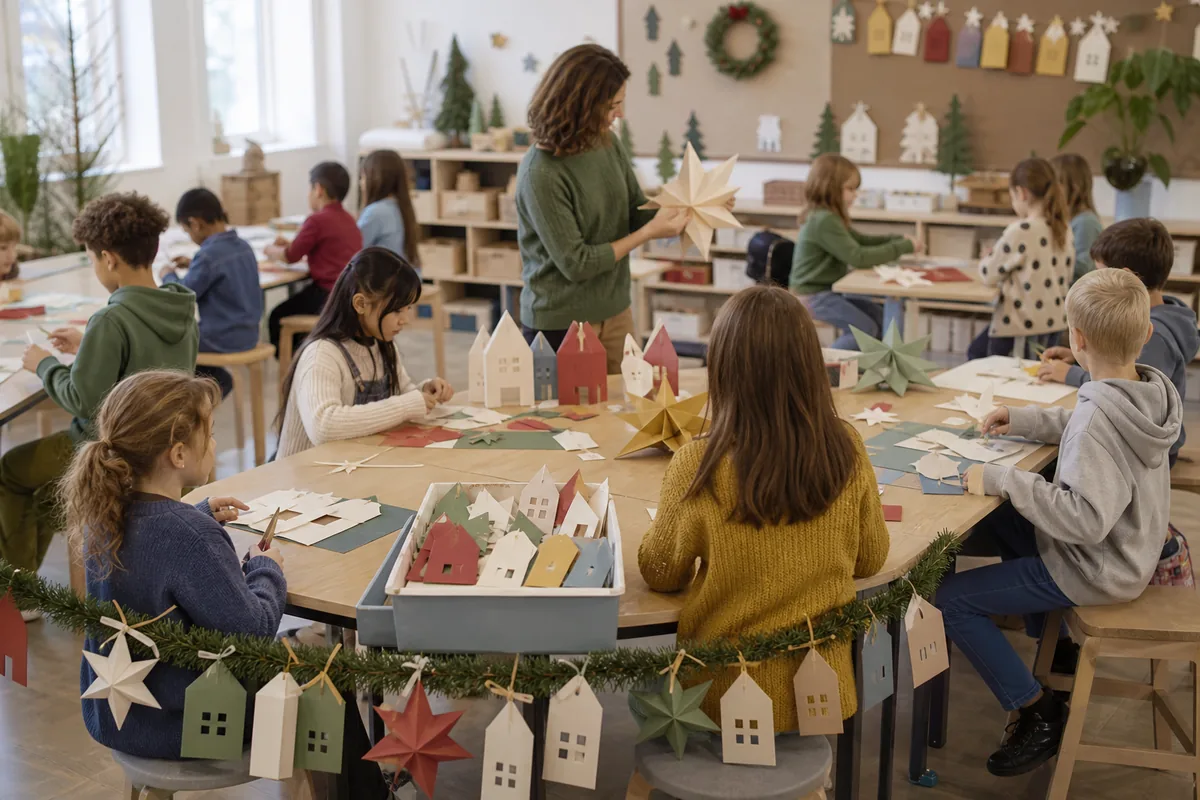
A natural palette can use unbleached linen, kraft brown, forest green, and dried-orange amber. A graphic paper palette can pair ivory, red, dusty blue, and charcoal. For a classroom, increase contrast between adjacent shapes; subtle cream-on-ivory combinations may disappear from several feet away.
Buy paper by construction method
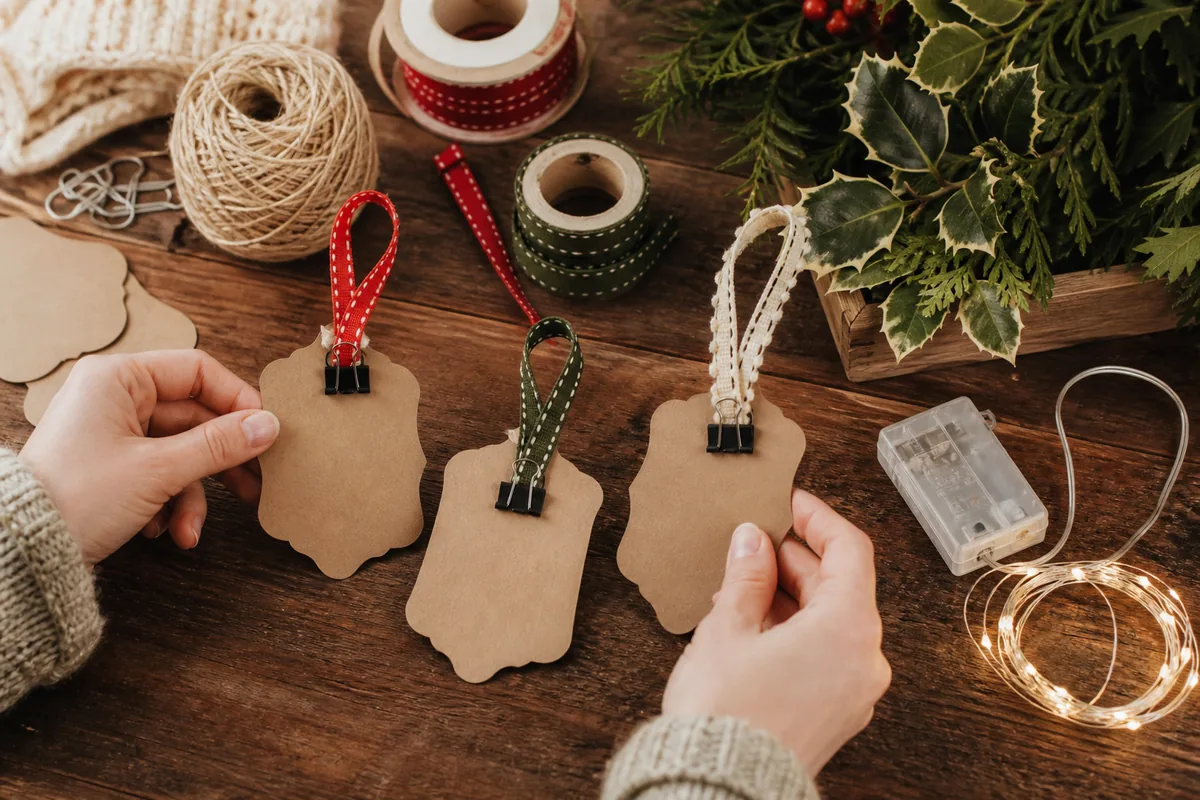
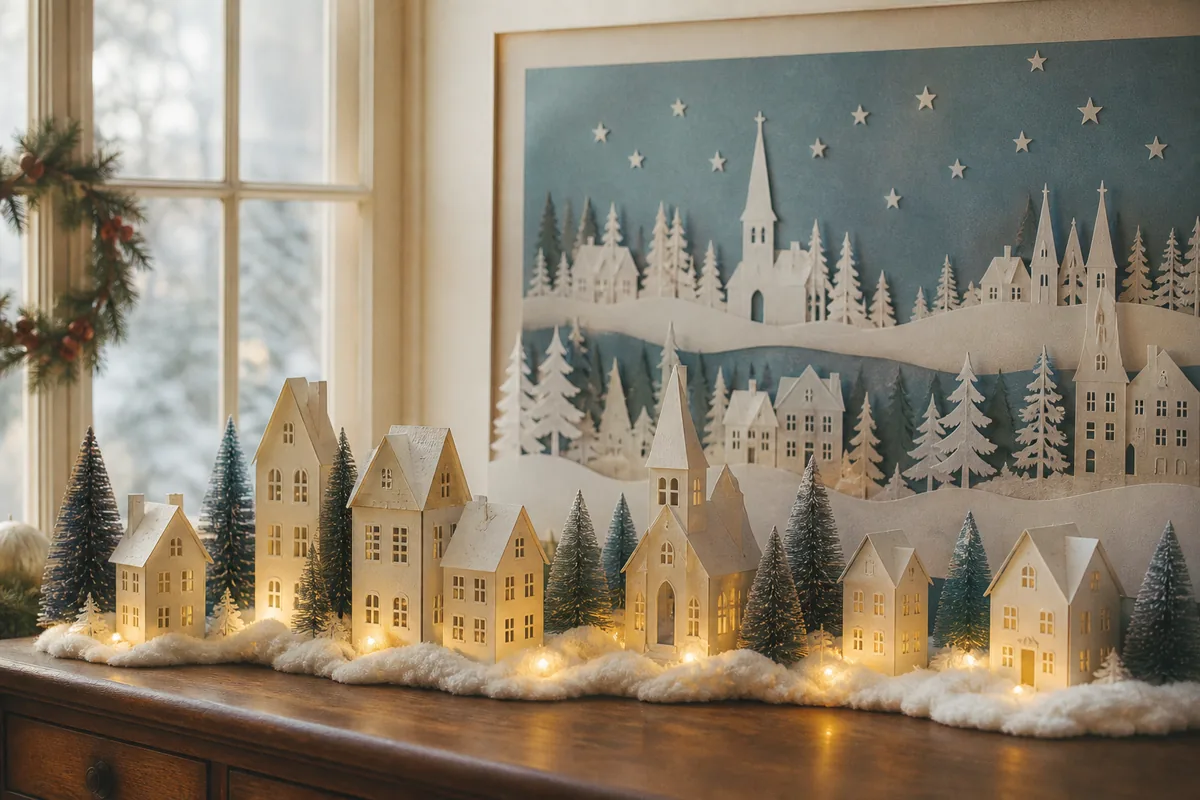
Choose paper by the construction job rather than brand alone. For folded stars and honeycomb ornaments, 80–176 gsm is a candidate testing range; the sheet must crease without splitting. For flat gift tags and layered cards, start by sampling 200–300 gsm cardstock. For paper villages, sample approximately 216–270 gsm and reject any stock that will not stand, score, or fold cleanly with the intended tools. These ranges are procurement starting points, not universal specifications.
Check grain direction by gently bending the sheet both ways; it folds more easily parallel to the grain. For repeated accordion folds, align the fold direction with the grain when possible. Coated or glitter paper can crack, resist glue, and shed, so reserve it for small surface details.
Calculate sheets from the cutting layout. If one letter-size sheet yields four ornaments, 24 ornaments require six perfect sheets. Cut one representative sheet first, record its usable yield and scrap, then add at least one replacement sheet. For a classroom or an unfamiliar pattern, base the final allowance on that sample rather than applying an unsupported universal waste percentage.
Choose felt and fabric for the edge finish
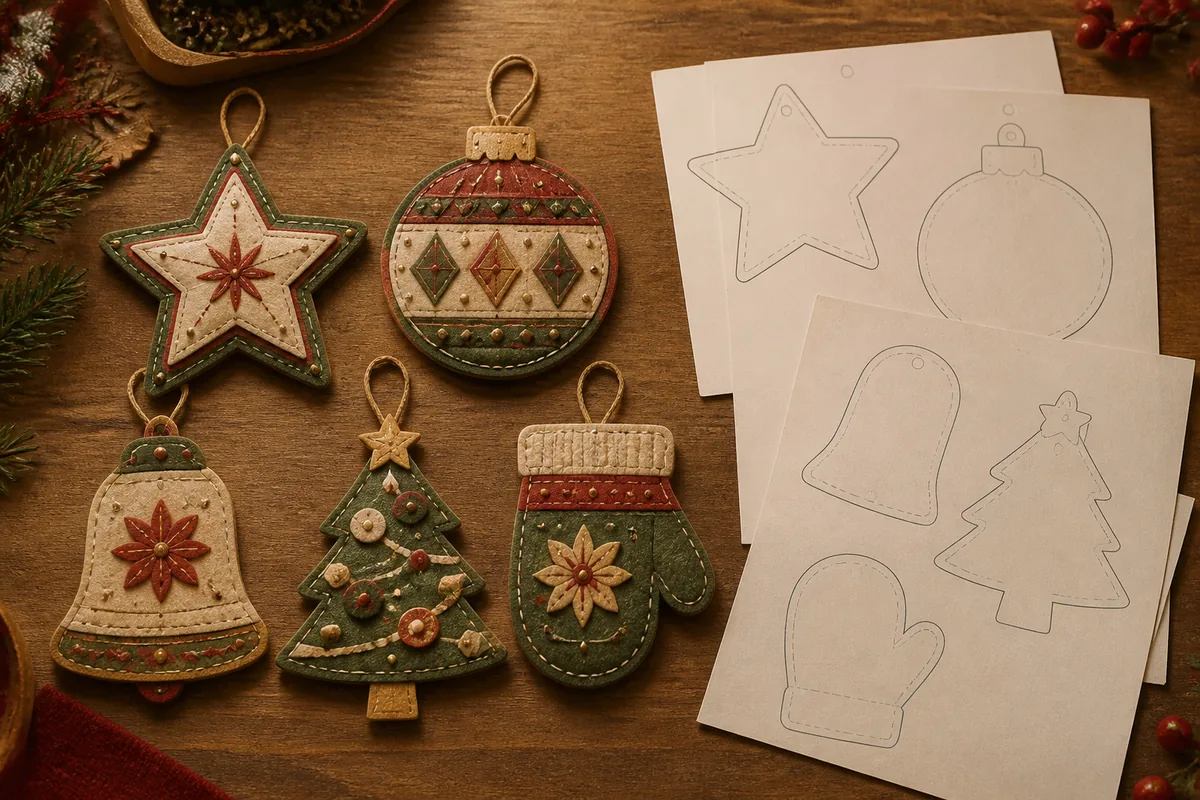
Wool-blend felt is a dependable ornament material because cut edges remain stable and hand stitches hold well. Acrylic craft felt costs less but varies in density; hold it toward a window to check for thin patches. For a 4-inch stuffed ornament, two 5-inch squares provide comfortable cutting room. Twenty ornaments therefore require about forty squares plus four spares.
Quilting cotton suits patchwork, small stockings, and reusable wraps but needs seam allowances and may fray. Prewash it if the finished object may later be washed. Linen creates a beautiful natural texture but loose weaves can distort; stabilize small embroidered areas with a lightweight backing.
Avoid vintage textile with mold, unknown chemical treatment, active dye transfer, or structural weakness. A sentimental scrap can be mounted behind a protective layer rather than carrying a seam or hanging load.
Match adhesive to the joint
Use glue stick for lightweight flat paper layers, PVA craft glue for porous paper and wood, fabric glue where a washable textile bond is specifically required, and a tested low-temperature hot glue only for quick non-structural assembly. Hot glue is not automatically stronger; it can peel from smooth surfaces and create bulky joints.
Test representative scraps and allow the adhesive’s full labeled cure time. Check for staining, warping, brittleness, and edge lift. Apply a controlled amount to the smaller piece, following the product directions; clips or a flat weight may help when the label and materials permit them.
Adults should control craft knives, hot glue, wire cutters, and strong specialty adhesives. Ventilate products according to their labels and never transfer glue or paint into food containers.
For U.S. purchases, check art-material packaging for the applicable cautionary language and the statement “Conforms to ASTM D-4236.” The CPSC explains that consumer art materials require toxicological review and appropriate labeling; the ACMI database can confirm products bearing its AP or CL certification. These marks do not replace age guidance, ventilation instructions, or the manufacturer’s directions for the exact product.
Plan ribbon, twine, and hanging hardware
An 8-inch ribbon length makes a practical loop for many 3- to 5-inch ornaments. Twenty-four ornaments need 192 inches, or 16 feet; buy at least 18 feet to allow for trimming. For bows, make one sample and measure the actual consumption instead of relying on appearance.
Choose tightly woven ribbon that does not unravel when pulled. Cotton twill tape and braided cord work well for heavier items. Metallic cord may fray or contain stiff wire ends. Reinforce the hanging point inside a sewn ornament or sandwich the knotted end between broad paper layers.
Do not use a decorative loop as proof that an object is safe overhead. Test the completed item over a padded table and use wall hooks or supports rated for the surface and load.
Separate structure from decoration
Cardboard, book board, wreath forms, dowels, and wire provide structure. Paint, ribbon, greenery, beads, and printed paper provide finish. Buy the structural material first and build a plain prototype. If it bends, twists, or tips, decoration will not correct it.
Fresh greenery needs gloves, plant identification, and distance from heat. Dried botanicals are still combustible. Use only battery-powered lights around paper, felt, straw, or foliage, and keep button-cell battery compartments secured from children and pets.
Shop with a project worksheet
Write the finished quantity, dimensions, yield per sheet or yard, waste allowance, required tools, drying time, and storage size. Mark supplies already owned before shopping. Buy one unit for a test when color, stiffness, or adhesive compatibility is uncertain; bulk savings disappear when the material does not work.
Keep receipts and label leftover material with weight, fiber content, color name, and supplier. Store paper flat, fabric clean and dry, ribbon wound without tight creases, and adhesives within their labeled temperature range. A small, documented palette is easier to reuse next season than a box of unrelated holiday supplies.
Buying method and sources
This guide provides a sampling and quantity-planning method, not laboratory test results or brand rankings. Paper-weight ranges, palette proportions, and quantity examples are starting assumptions: test the actual material and pattern before a project-size purchase. HollyXmas did not independently test the products shown or receive compensation for including a brand; no brand is recommended here.