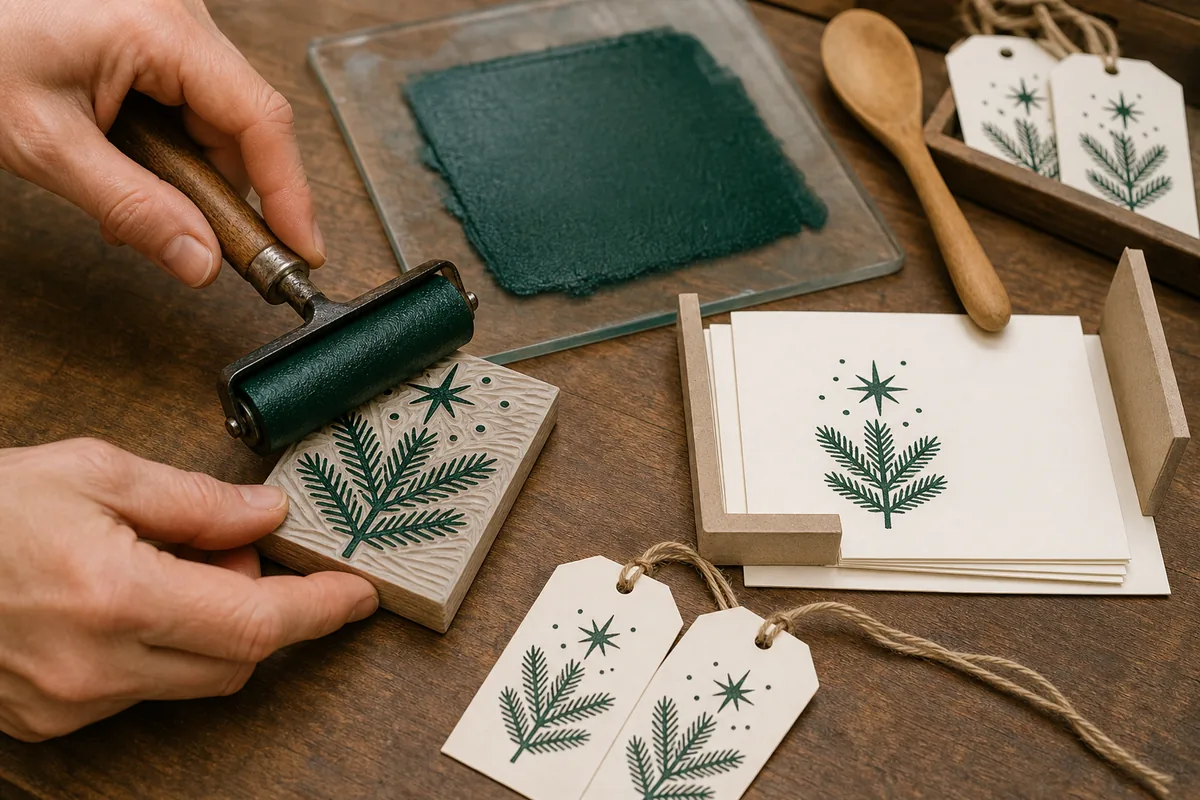
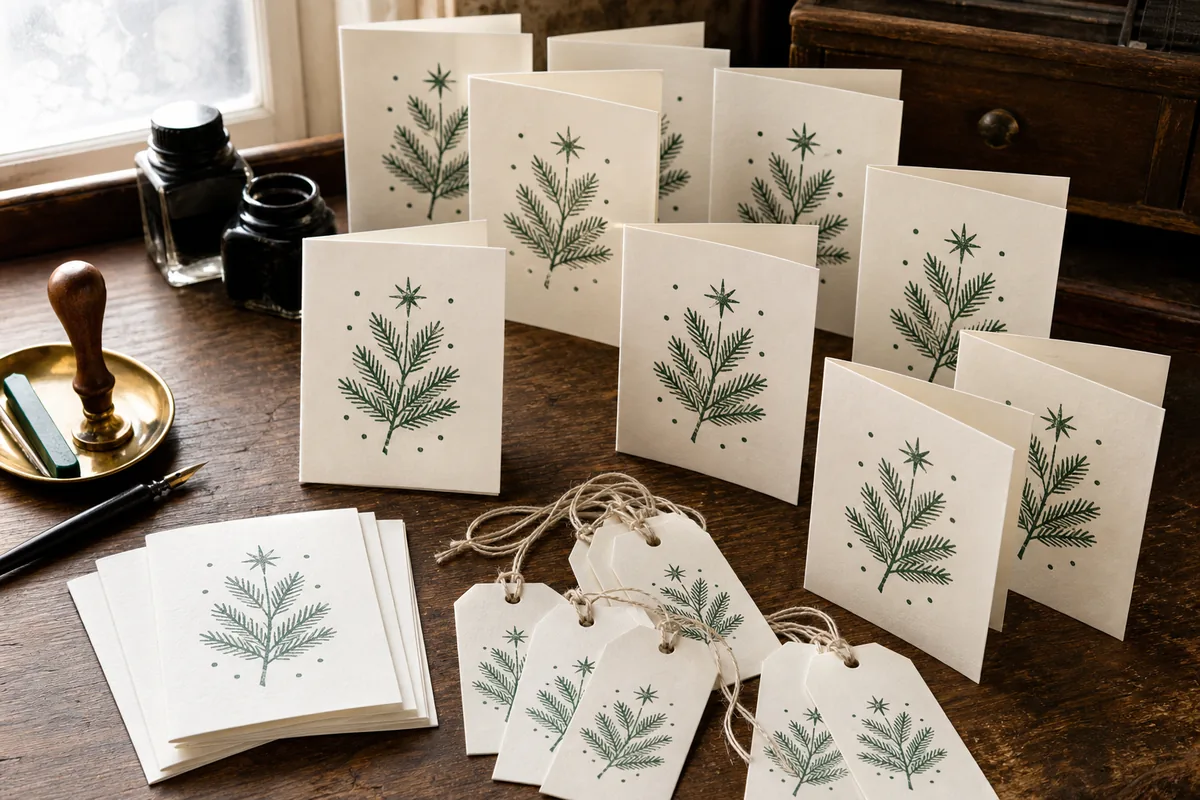
Cut one bold relief design from a soft carving block, roll on a thin layer of pigment ink, and hand-print it onto folded cotton cards and matching gift tags with consistent pressure.
Letterpress-Style Christmas Cards and Gift Tags
True letterpress printing uses a press to push a raised plate into paper. This small-batch project borrows its restrained color, relief-printed edges, and tactile cotton stock without pretending to reproduce a commercial press impression. One hand-carved evergreen-and-star block prints twelve A2 cards and twelve matching tags; slight variations in ink make each piece visibly handmade.
Project at a glance
- Difficulty: Intermediate
- Active time: 2–3 hours
- Total time: 2–3 hours plus ink drying
- Yield: Twelve A2 cards and twelve gift tags
- Supervision: Adults; carving tools require controlled, away-from-body cuts
Supplies for a coordinated set
Gather twelve 8½-by-5½-inch sheets of 100–120 lb warm-white cotton cardstock, scored and folded to 4¼ by 5½ inches. Cut twelve tags from the same stock, each 2 by 3½ inches. You will also need a 3-by-4-inch soft carving block, tracing paper, pencil, lino-cutting handle with a small V-gouge, bench hook or nonslip mat, 2-inch soft rubber brayer, water-based block-printing ink, smooth acrylic inking plate, baren or clean wooden spoon, scrap paper, ruler, craft knife, ⅛-inch hole punch, and narrow cotton cord.
Choose one ink color—muted red or deep evergreen—and let paper texture provide the rest of the interest. Allow two to three hours for carving and printing, plus drying time specified by the ink manufacturer. Carving is an adult task; keep the supporting hand behind the cutting direction at all times.
Design a block that will print clearly
Draw a simple 2½-by-3½-inch composition with a central evergreen sprig, one symmetrical star, and a few dots. Avoid thin lettering and crowded detail. Lines should be at least 1/16 inch wide, and open spaces between lines should be wide enough for the V-gouge to travel without breaking an edge.
Transfer the drawing to tracing paper, flip it facedown on the block, and rub the back with a spoon. The design will print in reverse, so any initials or words must be mirrored before transfer. For the most reliable result, omit text and handwrite the greeting after printing.
Place the block on a bench hook. Carve shallow channels around the lines that should print, always pushing the gouge away from your body. Remove the broad background last with a wider cutter. The raised evergreen, star, and dots should remain level. Brush away crumbs and make a proof print before carving deeper.
Prepare repeatable registration guides
On a sheet of scrap paper, draw the outline of an open card and position the block where you want the design—approximately ¾ inch from the folded edge and centered vertically works well. Tape two L-shaped cardstock stops to the scrap sheet at the card’s lower and left edges. These guides place every card in the same position.
Make a second guide for the tags, leaving at least ½ inch clear at the top for the punched hole. Protect the worktable with paper and keep a clean zone for finished prints.
Before using the cotton stock, print three proofs on offcuts from the same paper. Number them in pencil and change only one variable at a time: ink film, rubbing time, or pressure. Keep the cleanest proof beside the inking plate as a visual standard. Cotton paper absorbs differently from smooth office cardstock, so a successful test on scrap printer paper does not guarantee a crisp final print.
Ink and print the cards
Place a pea-size amount of block-printing ink on the acrylic plate. Roll the brayer forward and backward until the ink forms a thin, even film with a soft tacky sound. Roll across the block two or three times in different directions. The raised surface should look velvety, not wet; ink pooled in carved channels creates muddy edges.
Place the card against the registration stops. Turn the inked block facedown and lower it straight onto the paper without sliding. Cover it with clean scrap paper and rub firmly with the baren or spoon for 15–20 seconds, working across the center and corners. Hold the card down and lift the block straight up.
Print the twelve cards first, re-inking lightly each time. If the first proof is patchy, increase pressure before adding more ink. If edges are blurry, use less ink and check for carved debris. Set cards flat in a single layer to dry.
Inspect every third card before continuing. A strip of masking tape folded sticky-side-out can lift lint from the block without damaging the carved surface. If the design begins creeping out of position, check the registration stops rather than trying to compensate by eye. Replace any stop that has shifted or softened with ink.
Print and finish the gift tags
For the smaller tags, ink only the portion of the block containing the star or sprig. Mask the unused raised area with scrap paper while rolling, then remove the mask before printing. This creates a coordinated motif without crowding the tag.
Once completely dry, punch a hole ⅜ inch below the top edge. Cut twelve 10-inch cords, fold each in half, push the loop through the hole, and pull the tails through the loop. Handwrite names with an archival pen after the ink cures.
Fold cards only along the pre-scored line and pair them with A2 envelopes. Store finished pieces flat between clean paper. Water-based ink cleanup is easiest immediately after printing: follow the ink label, wash the brayer without soaking its axle, and dry the carved block before storing it away from heat.