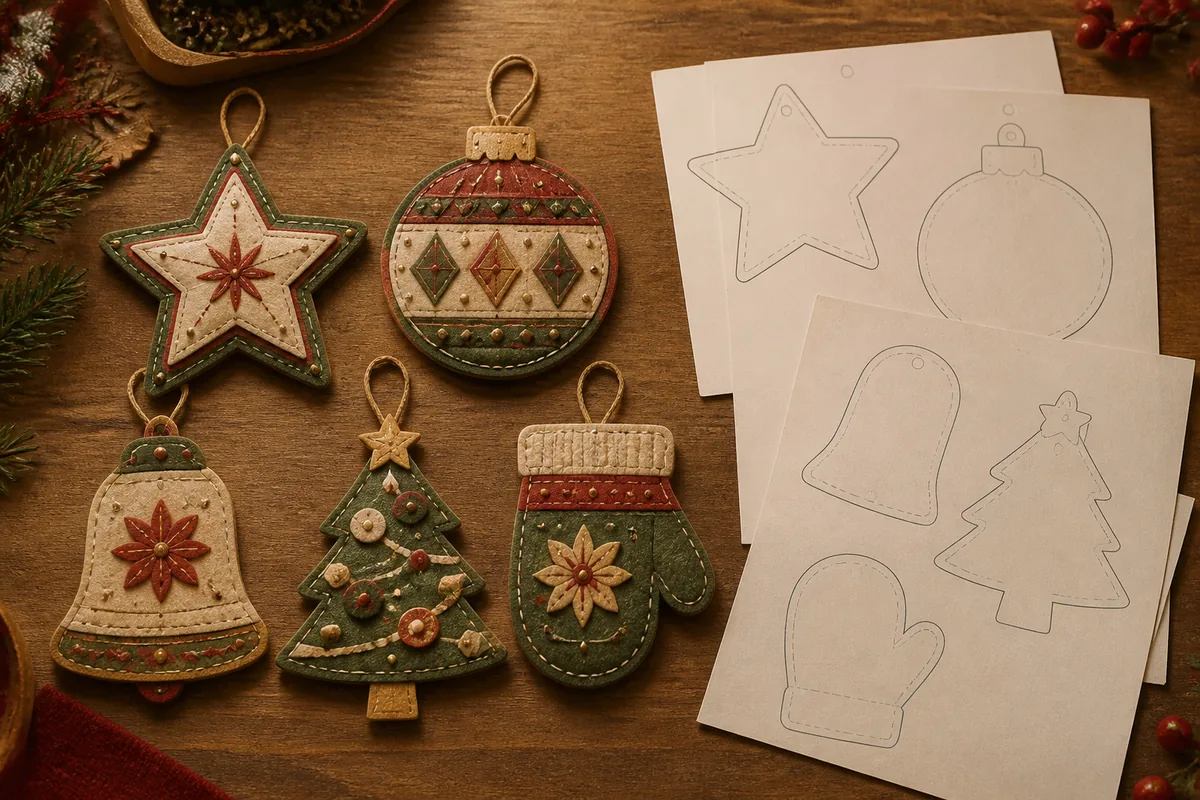
This print-ready pack includes five clean shapes in multiple sizes, a one-inch calibration square, cutting and fold lines, material notes, and instructions for paper and felt.
Free Classic Christmas Ornament Templates
The HollyXmas classic ornament template pack includes five shapes: star, round bauble, bell, tree, and mitten. Download either the US Letter or A4 PDF listed with this article and print at 100 percent or “Actual Size.” Each pack contains 3-, 4-, and 5-inch versions, a 1-inch calibration square, line keys, and a clear use license.
What is included in the 11-page pack
Each motif appears in 3-, 4-, and 5-inch sizes. Both PDFs use solid outer cut lines, dashed fold or placement lines only where required, a 1-inch calibration square, material recommendations, page numbers, and low-ink pages without decorative backgrounds.
The star should be a broad five-point form without narrow tips. The bauble needs a separate cap and centered loop marker. The bell requires a clear top, body, and optional clapper. The tree should have a wide trunk that can be inserted into a seam. The mitten needs a generous cuff and a thumb shape that remains easy to cut at 3 inches.
Readers may also draft the shapes on graph paper using the measurements below, but the supplied PDFs provide specified exact-size outlines.
Check print scale before cutting material
Print at 100 percent or “Actual Size,” never “Fit to Page.” Measure the calibration square with a physical ruler. If it is not exactly 1 inch, review the printer dialog and reprint before using felt or specialty paper. A template that is 5 percent small will also reduce seam allowances and hanging tabs.
For A4 and Letter versions, the artwork should remain identical in physical size and shift only within safe page margins. Test on an ordinary office printer. Lines must remain visible in grayscale and distinguishable without relying on red-versus-green color perception.
Cut the paper template just outside its outline, then create a durable master from cereal-box card or thin template plastic. Label the master with motif, finished size, seam allowance, and version number.
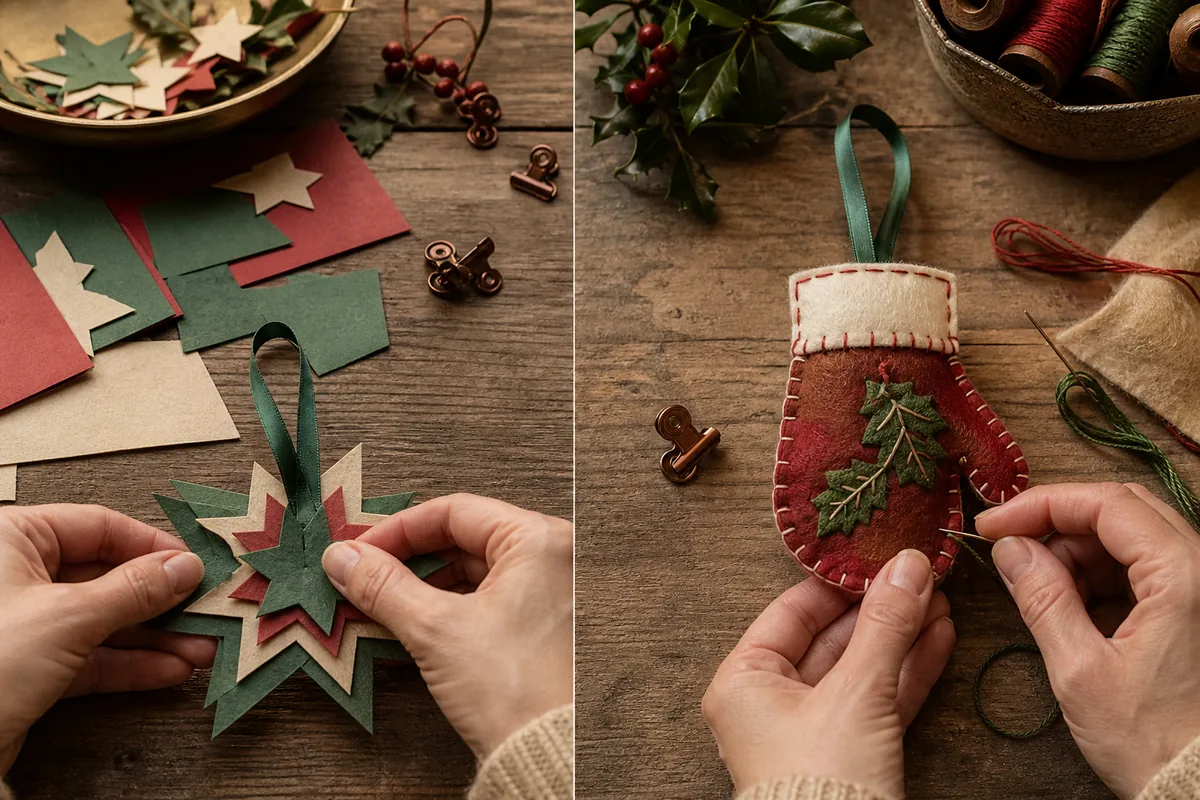
Make a layered paper star or bauble
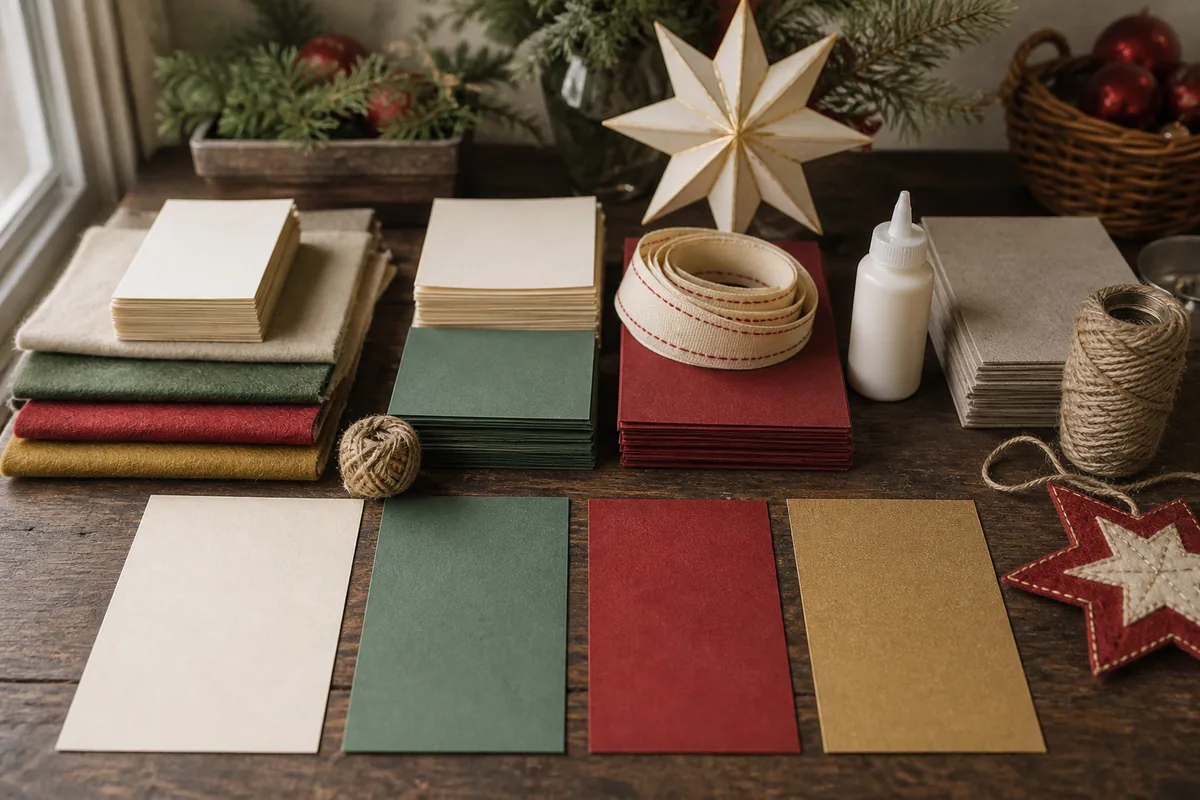
For one 4-inch ornament, cut two matching shapes from 200–250 gsm cardstock. Cut an 8-inch ribbon, knot its ends, and place at least 1 inch of the knotted section between the layers. Apply a thin PVA line around the shape, stopping about 1/8 inch from the edge, and press beneath clean paper and a book for 20 minutes.
Add a smaller 2-inch center layer or hand-drawn detail only after the base lies flat. If the points curl, too much wet glue was used. If the loop pulls free, increase the ribbon’s embedded area rather than adding glue around the exposed top.
The round bauble can become a dimensional paper form by cutting four copies, folding each vertically, and gluing the halves back-to-back. Align every center fold before joining the final seam. This version should remain indoors and away from moisture.
Sew the tree, mitten, or bell in felt
For a 4-inch stuffed ornament, cut two mirrored pieces from dense wool-blend felt. Mark a 1/4-inch stitching line if the template does not include one. Thread a needle with about 30 inches of embroidery floss and use running stitch, whipstitch, or blanket stitch at roughly 1/4-inch intervals.
Insert an 8-inch ribbon loop at the top and sew through it at least three times. Leave a 1-inch opening, add a small amount of filling, and close the seam. The ornament should feel softly dimensional, not stretched. Overfilling distorts the outline and stresses stitches.
Small buttons, bells, and beads are unsuitable for ornaments accessible to children under three. Use stitched circles or felt appliqué instead. Adults should handle sharp needles and cut any thick or intricate sections for young makers.
Adapt the templates for groups
For a classroom, prepare durable masters and trace shapes before the session. Offer the 5-inch version to younger children or anyone who benefits from larger cutting areas. Pre-punch ribbon holes in paper and provide glue sponges or small glue trays to control mess. One adult sample should show construction without implying that every decoration must match.
For a family ornament night, assign each person one motif and repeat a shared palette. Add initials and the year on a separate archival paper tag. Avoid putting a child’s full name on an ornament displayed in a public classroom or photographed online.
For a small market sample, verify that the template license permits commercial use before selling finished objects. “Free to download” does not automatically mean unrestricted commercial reproduction or resale of the files.
Download, license, and final checks
Choose your paper format. Each edition contains 11 pages. Print at 100 percent or “Actual Size,” then measure the 1-inch calibration square before cutting specialty cardstock or felt.
If downloading does not start, open the A4 PDF or US Letter PDF, then save it from your browser.
The included license permits personal and single-classroom use and small-batch sales of finished handmade items. Do not sell, upload, redistribute, or include the PDF template files in another product.
Both PDF editions have been rendered and checked for page size, clipping, line contrast, calibration, and consistent shape dimensions. Keep the file version with stored project notes so later revisions can be identified accurately.