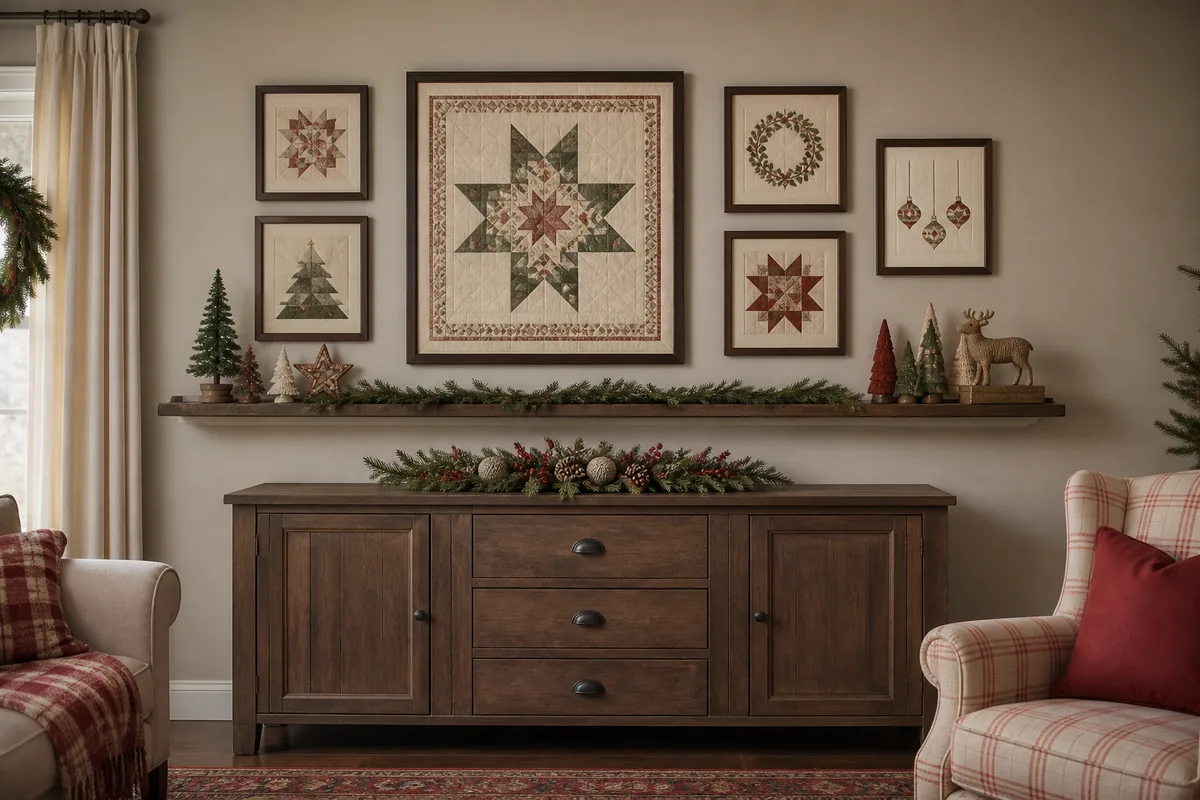
Choose one focal wall, group crafts into a large anchor and two smaller collections, repeat a restrained palette, and leave clear space around every display.
A Cozy Living Room Christmas Craft Gallery
Handmade decorations feel most intentional when they are edited and grouped, not scattered across every surface. A practical living room gallery can combine framed paper crafts, dimensional ornaments, and one garland while leaving lamps, seating, and walkways usable. The plan below centers on one 6- to 8-foot wall and repeats materials already present in the room.
Select one focal wall and three viewing levels
Choose the wall seen first from the room entrance, preferably above a sofa, sideboard, or low bookcase. Measure the furniture before arranging anything. A display above a sofa should span roughly two-thirds of its width, and the lowest frame should sit 6–10 inches above the back. Keep objects away from a working fireplace, radiator, air vent, and direct winter condensation.
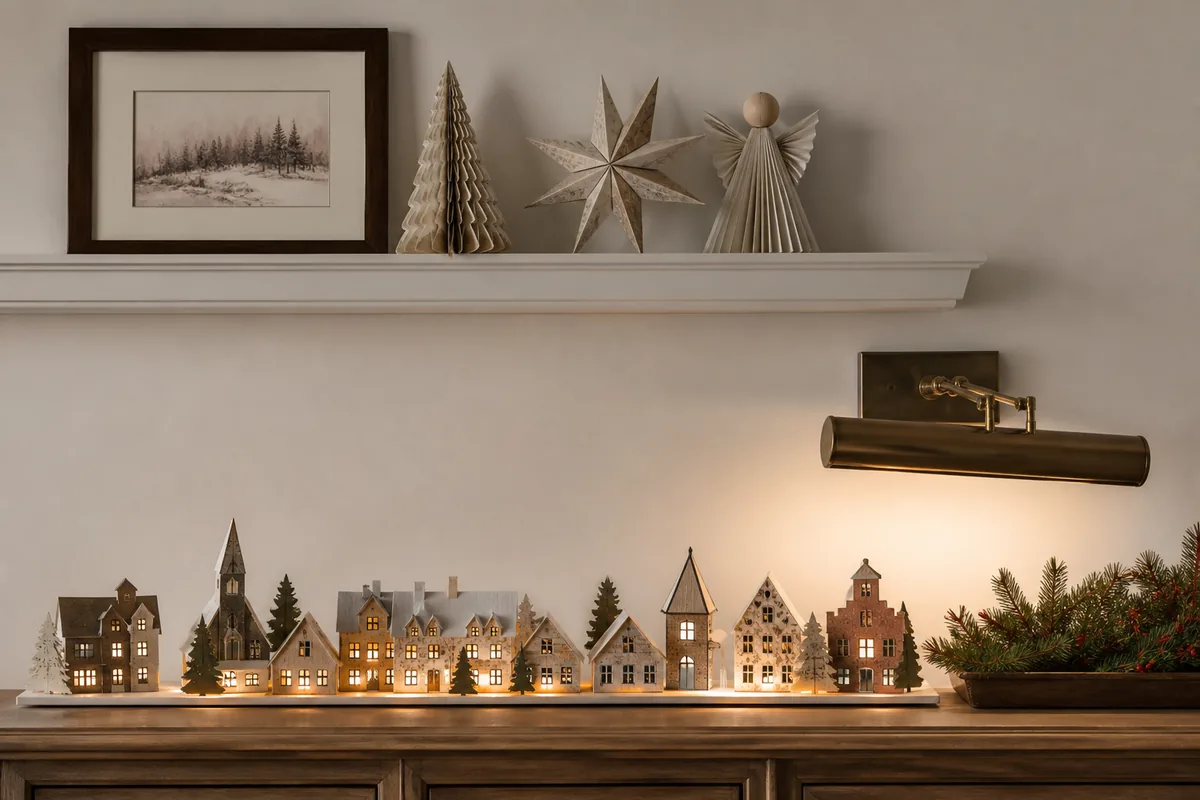
Use three levels: framed work at standing eye height, small dimensional pieces on a 4- to 6-inch-deep picture ledge, and one low arrangement on the furniture below. This creates depth without filling unrelated corners. Maintain at least a 30-inch walking path and do not place breakable crafts where someone rises from a chair.
Edit the collection before hanging
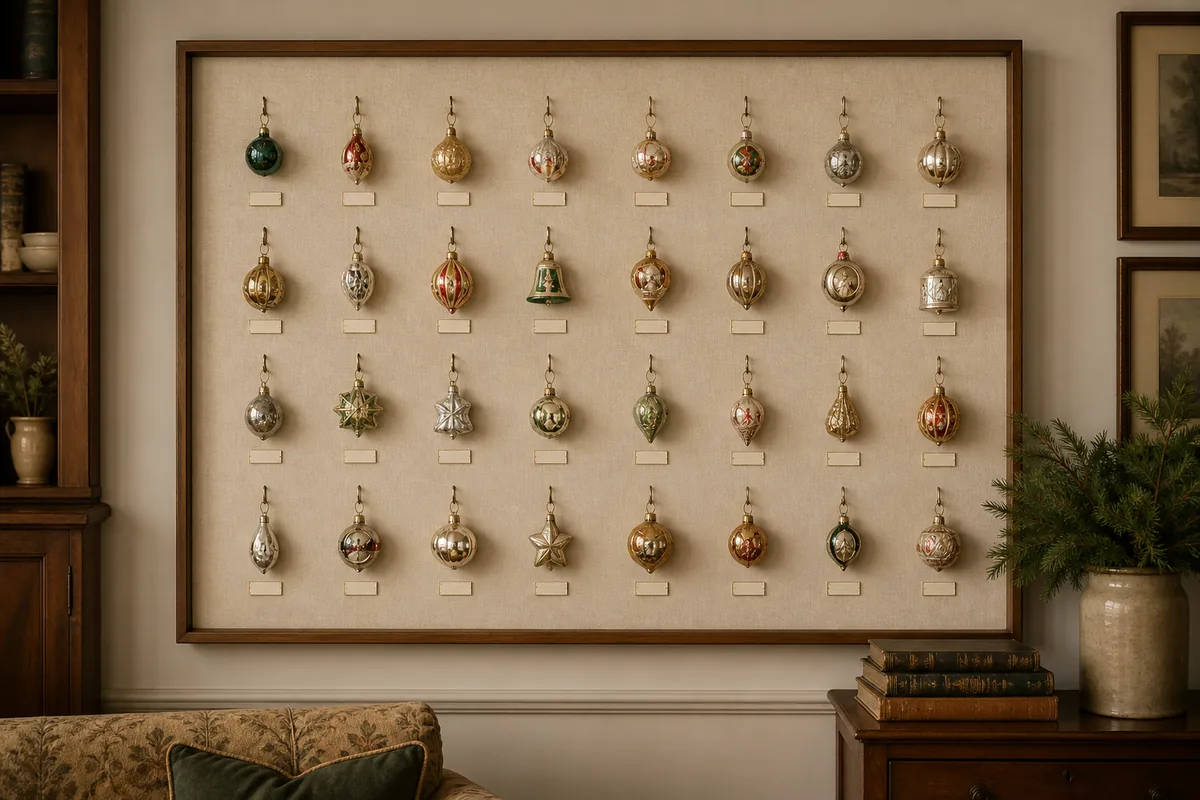
Lay every candidate on the floor. Select one anchor piece approximately 18 by 24 inches, four to six smaller framed pieces, and three to five dimensional objects. The anchor might be a quilted star, paper-cut village, family Christmas artwork, or framed textile. Smaller work should support it through color or material rather than matching exactly.
Limit the visible palette to three main colors plus warm ivory. If a cherished piece falls outside that scheme, repeat one of its colors in a ribbon or mat rather than excluding it. Store the remaining crafts for a midseason rotation; a smaller first edit gives each object space.
Build a balanced frame arrangement
Trace each frame onto kraft paper, cut the shapes, and tape them to the wall with low-tack painter’s tape. Begin with the anchor at the visual center, then add smaller rectangles with 2–3 inches between edges. Align at least one horizontal or vertical edge across the group so the arrangement feels connected.
Use mounting hardware rated for both the object and wall type. Adhesive strips require clean, compatible paint and full curing time; hooks need suitable anchors in drywall. Do not hang heavy shadow boxes with decorative ribbon. After installation, press each frame gently at its corners to confirm it cannot rock.
Place paper crafts behind UV-filtering acrylic if the wall receives daylight. Acrylic is lighter and safer than glass in active family rooms. Deep frames should include acid-free backing and enough clearance that fabric or paper does not touch the glazing.
Style the ledge and lower surface
On the picture ledge, use one shallow framed print as a background and place three dimensional crafts in front at staggered heights. Leave at least one-third of the ledge empty. Museum putty can stabilize lightweight objects on a smooth, compatible surface, but fragile heirlooms belong in enclosed cases.
On the sideboard or bookcase, create one low 24-inch-wide arrangement: a small handmade village, bowl of unbreakable ornaments, or three paper trees. Keep it below the wall art so it does not compete with the anchor. Hide reserve hooks, tape, and repair supplies in a nearby drawer rather than among the display.
Add light without adding heat
Aim an existing table lamp toward the wall or use a battery picture light rated for indoor use. Warm light around 2700K complements paper, wood, felt, and muted Christmas colors. Avoid string lights draped over frames, where wires can pull objects down. Never place real candles beneath paper crafts, textiles, shelves, or garlands.
A short greenery garland may run along the furniture, but keep it below artwork and secure its base at several points. Fresh branches can shed resin and moisture, so use a washable tray or choose artificial greenery near books and textiles.
Keep the room usable through the season
Photograph the finished arrangement and check it from the doorway and main seat. Remove any object that merges visually with another or blocks a lamp switch. If children or pets use the room, move small detachable pieces above reach and secure cords.
Dust the gallery with a soft brush rather than household spray. Rotate two or three items halfway through December, keeping the frame layout intact. When packing, photograph each wall position, label hardware by object, and interleave paper crafts with acid-free tissue. Next year’s gallery can then be rebuilt deliberately instead of rediscovered through trial and error.
Before calling the arrangement finished, view it after dark with the normal room lights. Reflections that were invisible during the day may obscure glazed work, and a picture light can cast hard shadows from deep frames. Adjust the lamp angle rather than adding more fixtures. Sit in every frequently used chair and confirm that no frame edge, hanging cord, or bright bulb enters the main sightline or creates glare on a television.